---
title: Connect from Hasura Cloud to Neon
subtitle: Learn how to connect a Hasura Cloud project to a new or existing Neon database
summary: >-
Step-by-step guide for connecting a Hasura Cloud project to a new or existing
Neon database, including authentication and configuration instructions for
seamless integration.
enableTableOfContents: true
redirectFrom:
- /docs/quickstart/hasura
- /docs/integrations/hasura
updatedOn: '2026-02-06T22:07:32.981Z'
---
Hasura Cloud is an open source GraphQL engine that provides a scalable, highly available, globally distributed, secure GraphQL API for your data sources.
## Connecting to a new Neon database
Use the following instructions to connect to a new Neon database. This connection method authenticates you from Hasura Cloud.
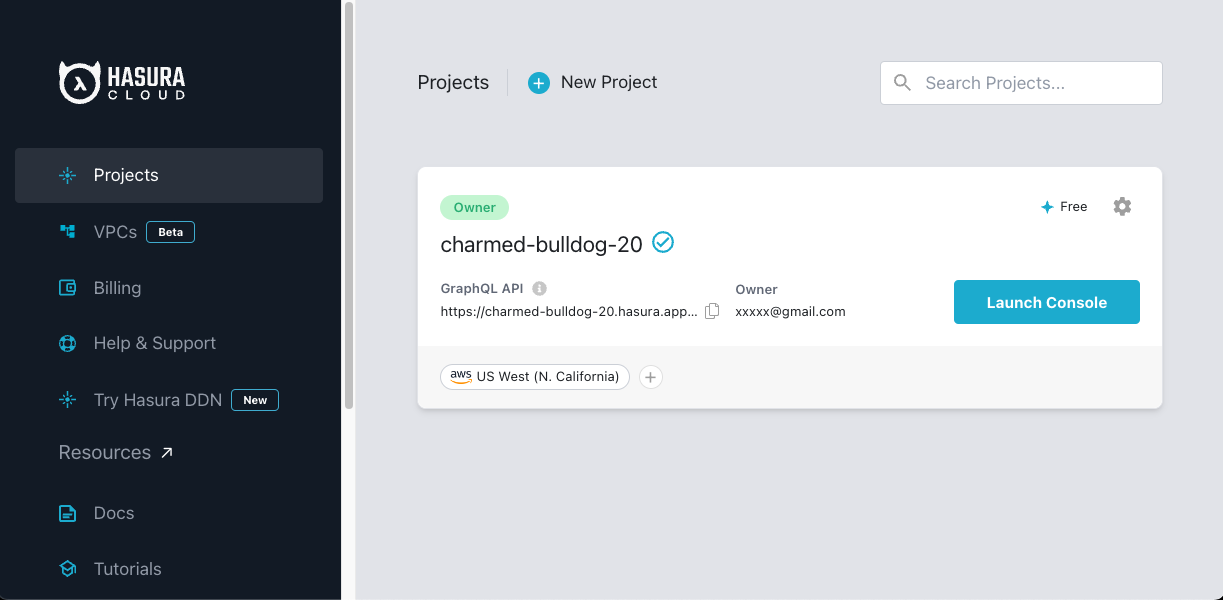
1. Navigate to [Hasura Cloud](https://cloud.hasura.io/projects) and sign up or log in.
2. On the Hasura Cloud dashboard, click **Create a project** to create a new Hasura project.

3. After the project is initialized, click **Launch Console** to open the Hasura Console.
4. On the Hasura Console, Select **Data** from the top navigation bar.
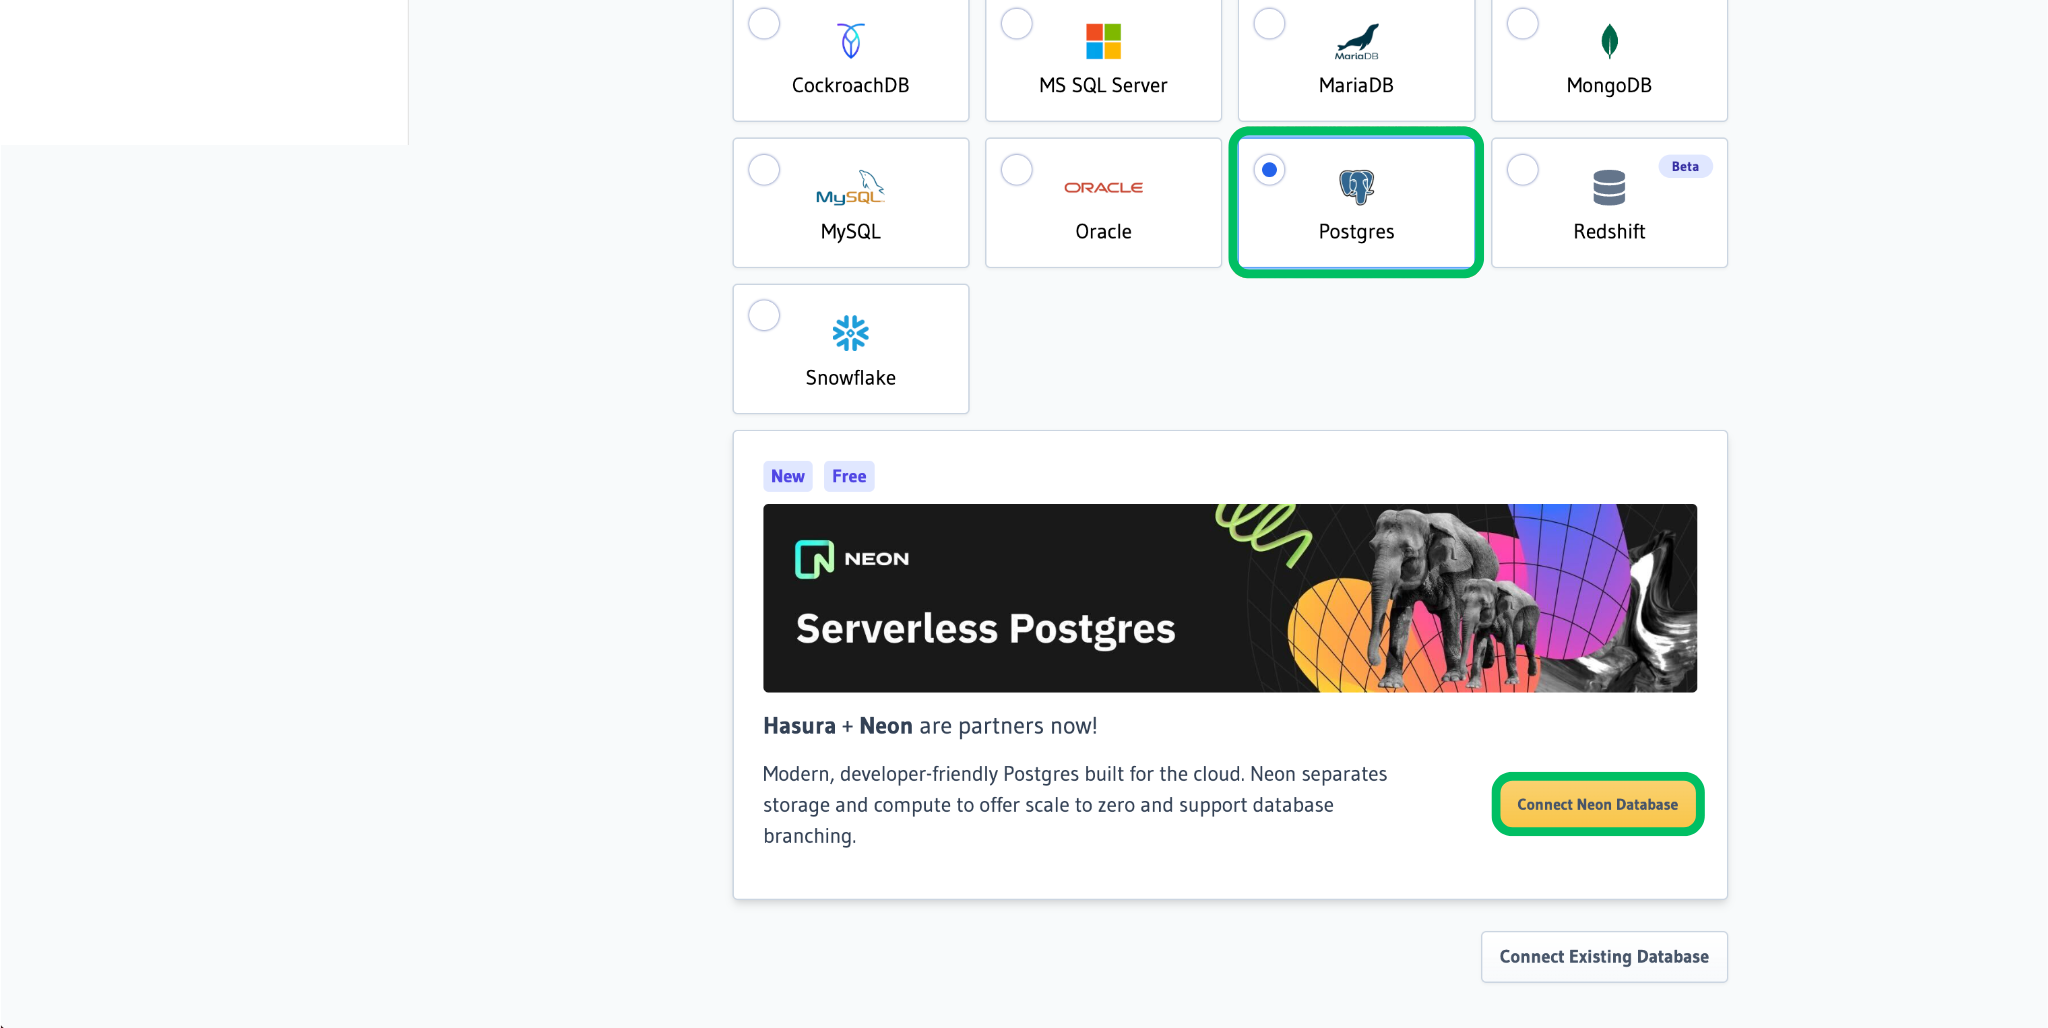
5. Click **Postgres** > **Connect Neon Database**.
6. When prompted to login or sign up for Neon, we recommend selecting **Hasura** for seamless authentication.
7. You will be redirected to an Oauth page to authorize Hasura to access your Neon account. Click **Authorize** to allow Hasura to create a new Neon project and database.
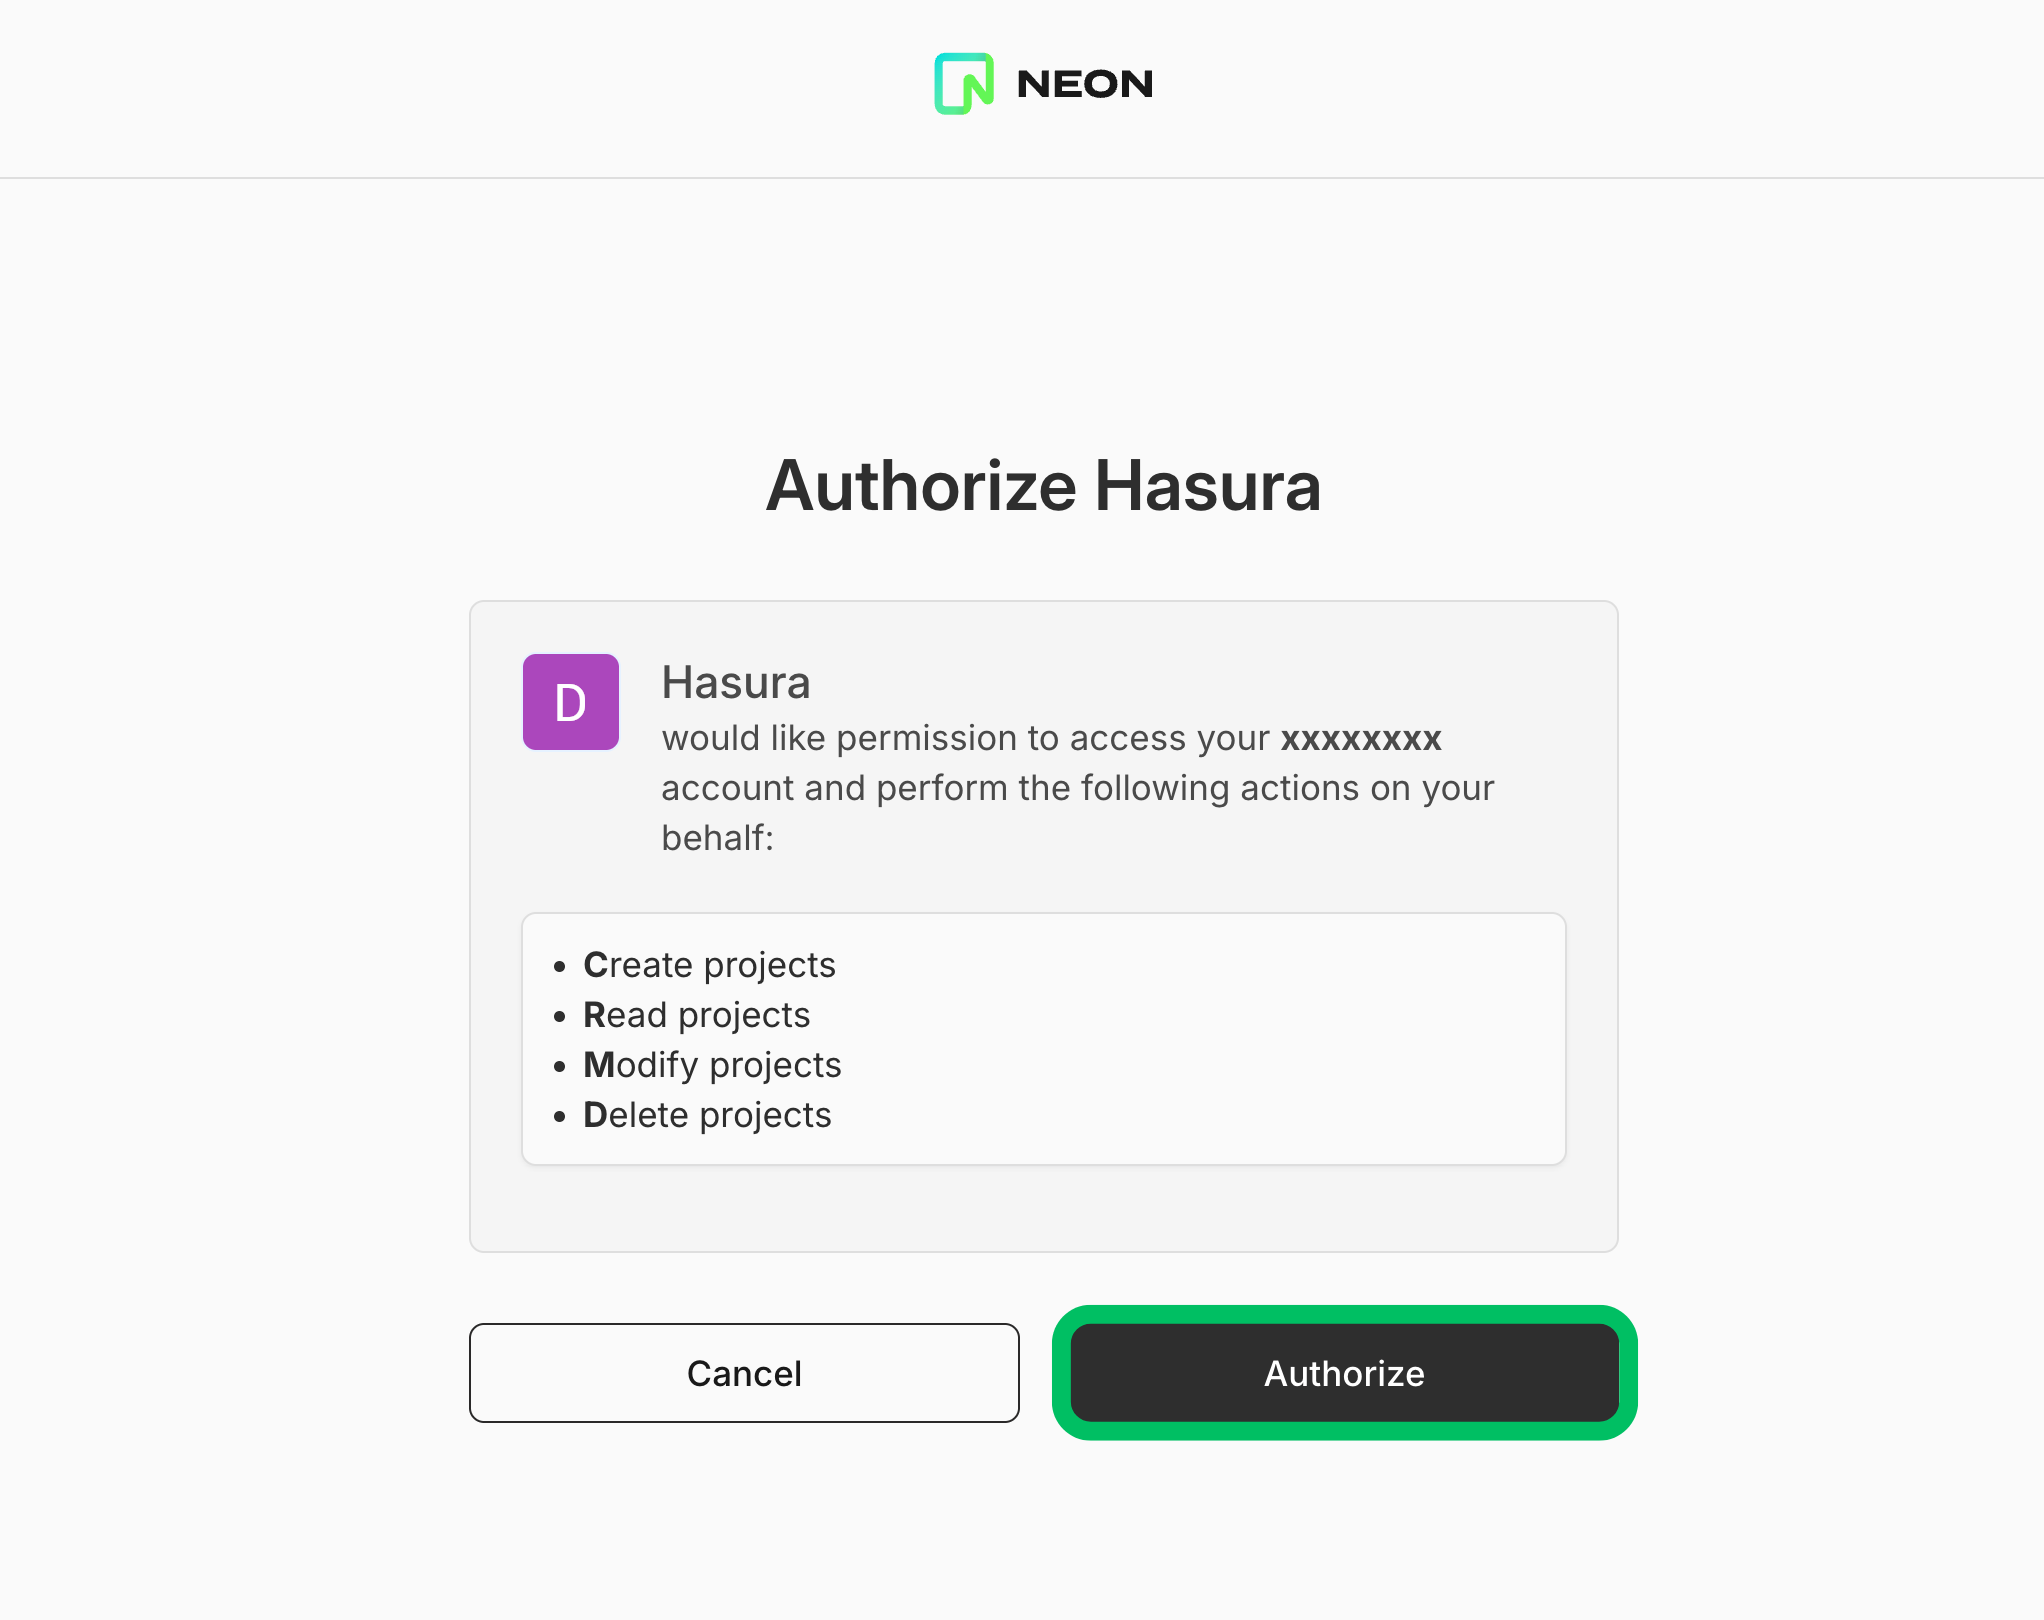
After authenticating, a new Neon Postgres database is created and connected to your Hasura project, and the Neon project connection string is associated with the `PG_DATABASE_URL` environment variable.

To start exploring Hasura's GraphQL API with data stored in Neon, see [Load a template in Hasura](#load-a-template-in-hasura-optional).
## Connecting to an existing Neon database
Use the following instructions to connect to an existing Neon database from Hasura Cloud. The connection is configured manually using a connection string.
### Prerequisites
- An existing Neon account. If you do not have one, see [Sign up](/docs/get-started/signing-up).
- An existing Neon project. If you do not have a Neon project, see [Create a project](/docs/manage/projects#create-a-project).
- A connection string for a database in your Neon project:
```text
postgresql://[user]:[password]@[neon_hostname]/[dbname]
```
You can find your database connection string by clicking the **Connect** button on your **Project Dashboard**. For more information, see [Connect from any application](/docs/connect/connect-from-any-app).
### Add Neon as a data source
The following steps describe how to navigate to Hasura Cloud and connect to your Neon project.
1. Navigate to [Hasura Cloud](https://cloud.hasura.io/projects) and sign up or log in.
2. Click **Create Project** to create a Hasura Cloud project or click **Launch Console** to open an existing project.
3. In the Hasura Console, select **Data** from the top navigation bar.
4. Click **Postgres** > **Connect Existing Database**.
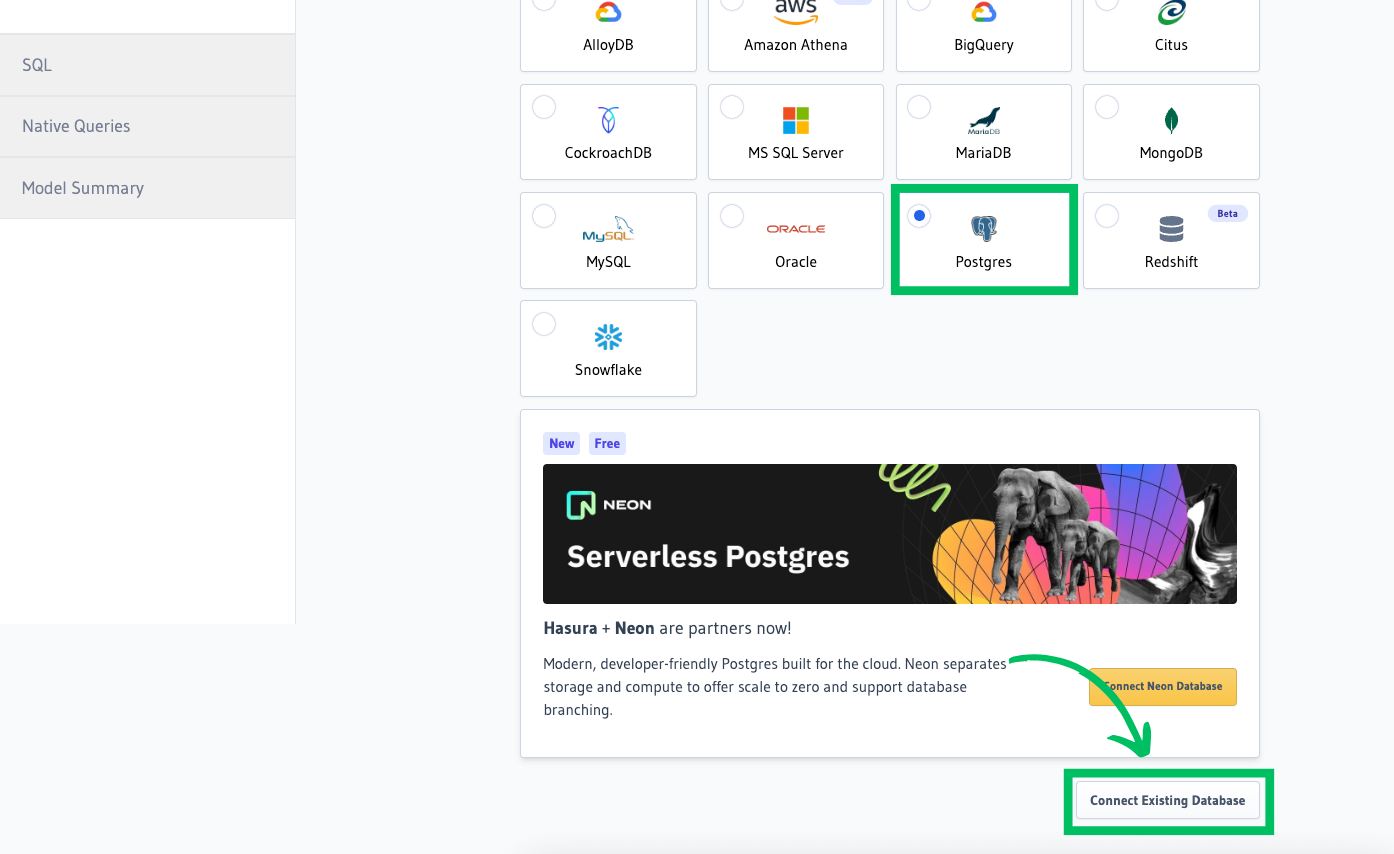
5. Paste your connection string into the **Database URL** field.
To enhance security and manageability, consider using environment variables in Hasura instead of hardcoding the connection string. To do this, navigate to **Hasura Project settings** > **Env vars** > **New env var** and create a new variable (e.g., `NEON_DATABASE_URL`) with your connection string as its value.
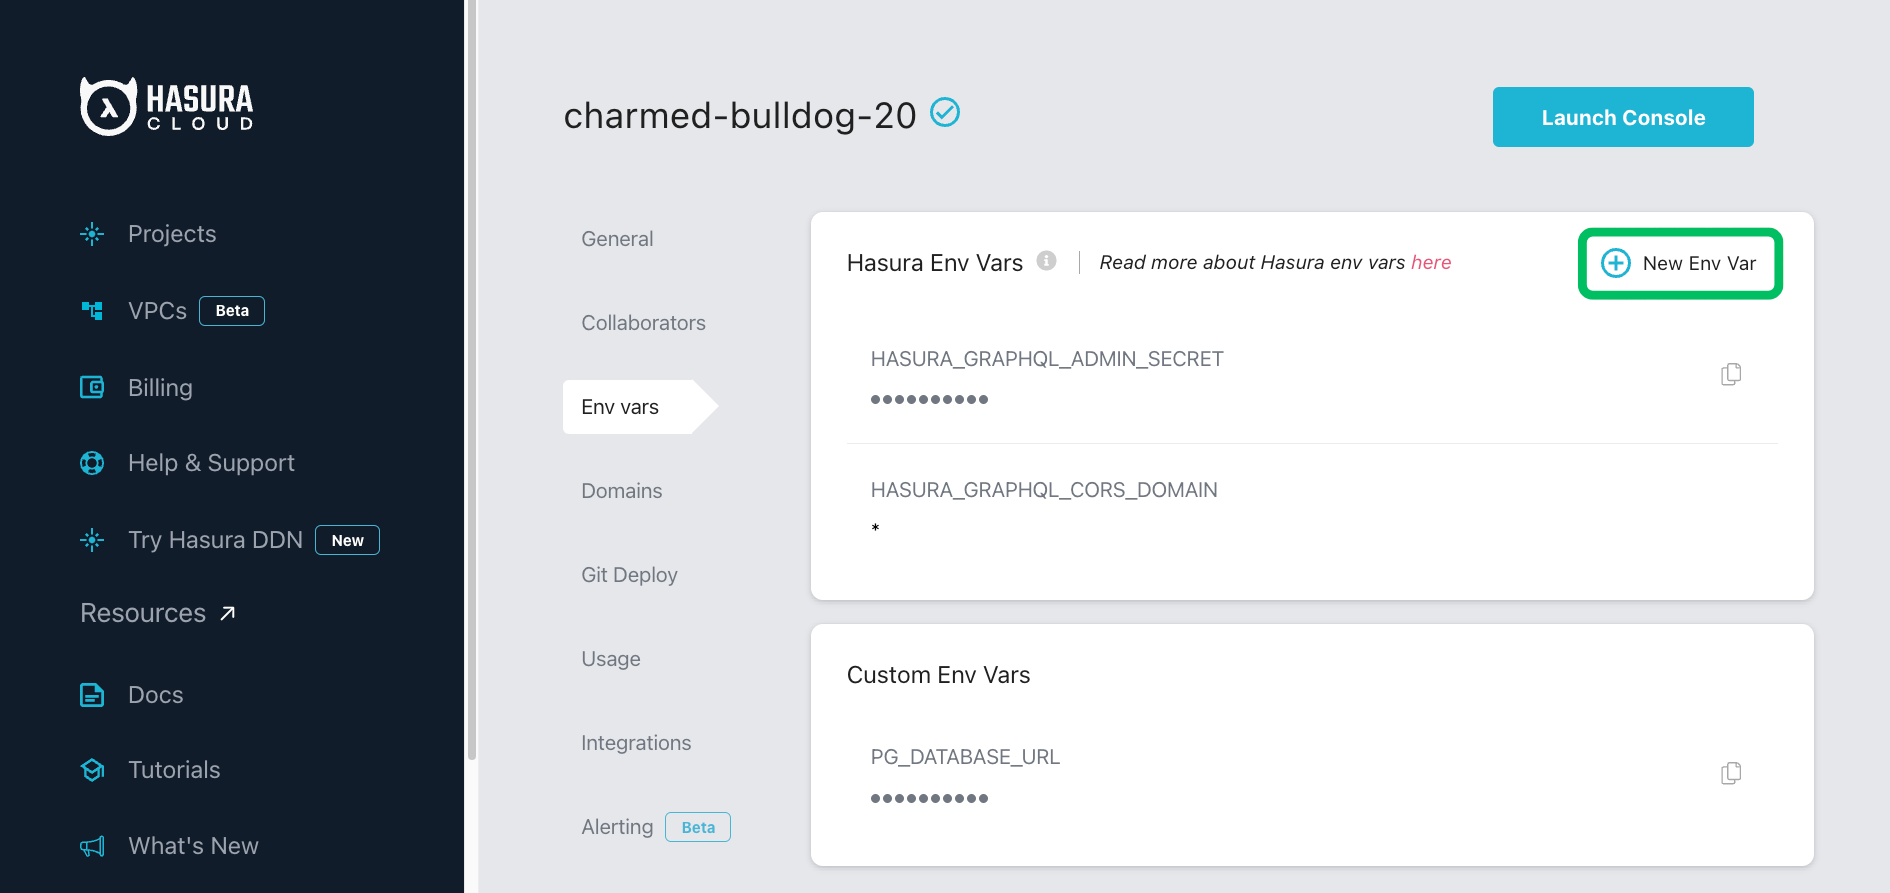
Then, in the connection tab, select **Connect database via Environment variable** and enter the variable name you created. This approach keeps your connection string secure and simplifies future updates.
6. Enter a display name for your database in the **Database name** field, and click **Connect Database**.
Hasura Cloud connects to your Neon project and automatically discovers the default `public` schema.
To start exploring Hasura's GraphQL API with data stored in Neon, see [Load a template in Hasura](#load-a-template-in-hasura-optional).
## Load a template in Hasura (optional)
Optionally, after connecting from your Hasura project to Neon, you can explore Hasura's GraphQL API by loading a template from Hasura's template gallery. Follow these steps to load the `Welcome to Hasura` template, which creates `customer` and `order` tables and populates them with sample data.
1. In the Hasura Console, select **Data**.
2. Under **Data Manager**, select your database.
3. From the **Template Gallery**, select **Welcome to Hasura** to install the template.
To view the newly created tables from the Neon Console:
1. In the Hasura Console, select **Data** > **Manage your Neon databases** to open the Neon Console.
2. In the Neon Console, select your project.
3. Select the **Tables** tab. The newly created `customer` and `order` tables should appear under the **Tables** heading in the sidebar.
## Import existing data to Neon
If you are migrating from Hasura with Heroku Postgres to Neon, refer to the [Import data from Heroku](/docs/import/migrate-from-heroku) guide for data import instructions. For general data import instructions, see [Import data from Postgres](/docs/import/migrate-from-postgres).
## Maximum connections configuration
In Neon, the maximum number of concurrent connections is defined according to the size of your compute. For example, a 0.25 CU compute in Neon supports 112 connections. The connection limit is higher with larger compute sizes (see [How to size your compute](/docs/manage/computes#how-to-size-your-compute)). You can also enable connection pooling in Neon to support up to 10,000 concurrent connections. However, it is important to note that Hasura has a `HASURA_GRAPHQL_PG_CONNECTIONS` setting that limits Postgres connections to `50` by default. If you start encountering errors related to "max connections", try increasing the value of this setting as a first step, staying within the connection limit for your Neon compute. For information about the Hasura connection limit setting, refer to the [Hasura Postgres configuration documentation](https://hasura.io/docs/latest/deployment/performance-tuning/#postgres-configuration).
## Scale to zero considerations
Neon suspends a compute after five minutes (300 seconds) of inactivity. This behavior can be adjusted on Neon's paid plans. For more information, refer to [Configuring Scale to zero for Neon computes](/docs/guides/scale-to-zero-guide).
If you rely on Neon's scale to zero feature to minimize database usage, note that certain Hasura configuration options can keep your Neon compute in an active state:
- [Event triggers](https://hasura.io/docs/latest/event-triggers/overview/) may periodically poll your Neon database for new events.
- [Cron triggers](https://hasura.io/docs/latest/scheduled-triggers/create-cron-trigger/) can invoke HTTP endpoints that execute custom business logic involving your Neon database.
- [Source Health Checks](https://hasura.io/docs/latest/deployment/health-checks/source-health-check/) can keep your Neon compute active if the metadata database resides in Neon.