---
title: Generate synthetic data with Neosync
subtitle: Learn how to generate synthetic data in your Neon database with Neosync
enableTableOfContents: true
updatedOn: '2025-09-09T10:09:25.192Z'
---
Neosync was recently acquired and is no longer available. The instructions in this guide are deprecated and will be removed in a future update.
[Neosync](https://www.neosync.dev/) is an open-source synthetic data orchestration platform that can create synthetic data and sync it across all of your Neon database environments.
In this guide, we'll show you how to seed a Neon database with synthetic data for testing and rapid development using Neosync.
## Prerequisites
To complete the steps in the guide, you require the following:
- A Neon account and project. If you do not have those, see [Sign up](/docs/get-started/signing-up#step-1-sign-up).
- A [Neosync](https://www.neosync.dev/) account.
## Neon setup
In Neon, we'll create a database for the synthetic data, define a table, and retrieve the database connection string.
### Create a database
To create a database, which we'll call `neosync`, perform the following steps:
1. Navigate to the [Neon Console](https://console.neon.tech).
1. Select your project.
1. Select **Databases** from the sidebar.
1. Select the branch where you want to create the database.
1. Click **New Database**.
1. Enter a database name (`neosync`), and select a Postgres role to be the database owner.
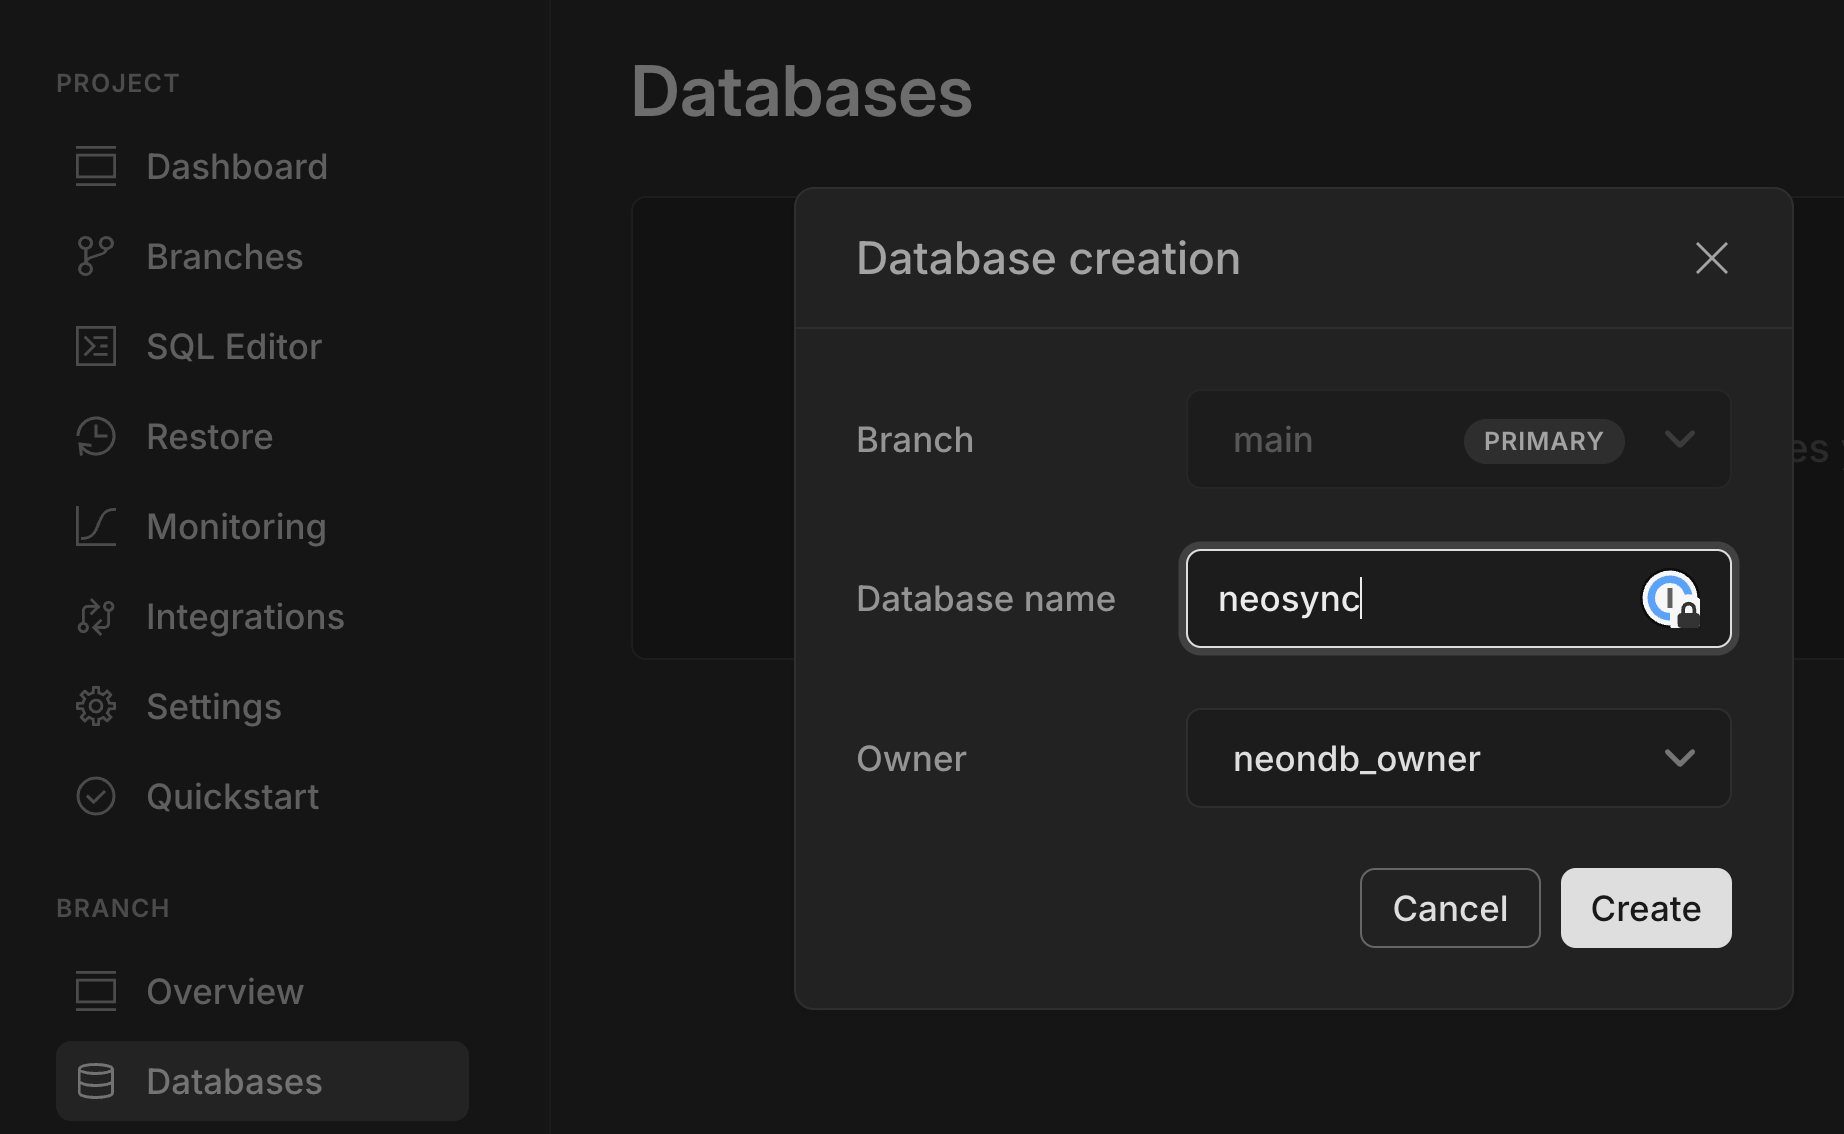
1. Click **Create**.
### Create a table
Next, we'll create the table for your data.
1. In the Neon Console, select the **SQL Editor** from the sidebar.
2. Select the correct branch and the `neosync` database you just created.
3. Run the following commands to create your schema:
```sql
CREATE EXTENSION IF NOT EXISTS "uuid-ossp";
CREATE TABLE public.users (
id UUID PRIMARY KEY,
first_name VARCHAR(255) NOT NULL,
last_name VARCHAR(255) NOT NULL,
email VARCHAR(255) NOT NULL,
age INTEGER NOT NULL
);
```
Installing the Postgres UUID extension to auto-generate UUIDs for the `id` column is optional. If you prefer, you can let Neonsync generate the UUIDs column values for you.
### Copy the connection string for your database
Navigate to the **Project Dashboard** in Neon, click **Connect**, and copy the connection string for the destination database from the **Connect to your database** modal.
Make sure you select the correct database (`neosync`) from the **Database** drop-down menu.
Your connection string should look something like this:
```bash
postgresql://alex:AbC123dEf@ep-cool-darkness-123456.us-east-2.aws.neon.tech/neosync?sslmode=require&channel_binding=require
```
## Neosync setup
In Neosync, we'll configure a connection to your Neon database and create a job that populates the database with synthetic data.
### Configure a connection to the Neon database
1. Navigate to [Neosync](https://www.neosync.dev/) and login. Go to **Connections** > **New Connection** then click on **Neon**.
2. Enter a unique name for the connection in the **Connection Name** field. We'll give the connection the following name: `neon-neosync`
3. Paste the Neon database connection string in the **Connection URL** field and click **Test Connection** to verify that the connection works.

4. Click **Submit** to save the connection configuration.
### Generate synthetic data
To generate data, you need to create a **Job** in Neosync:
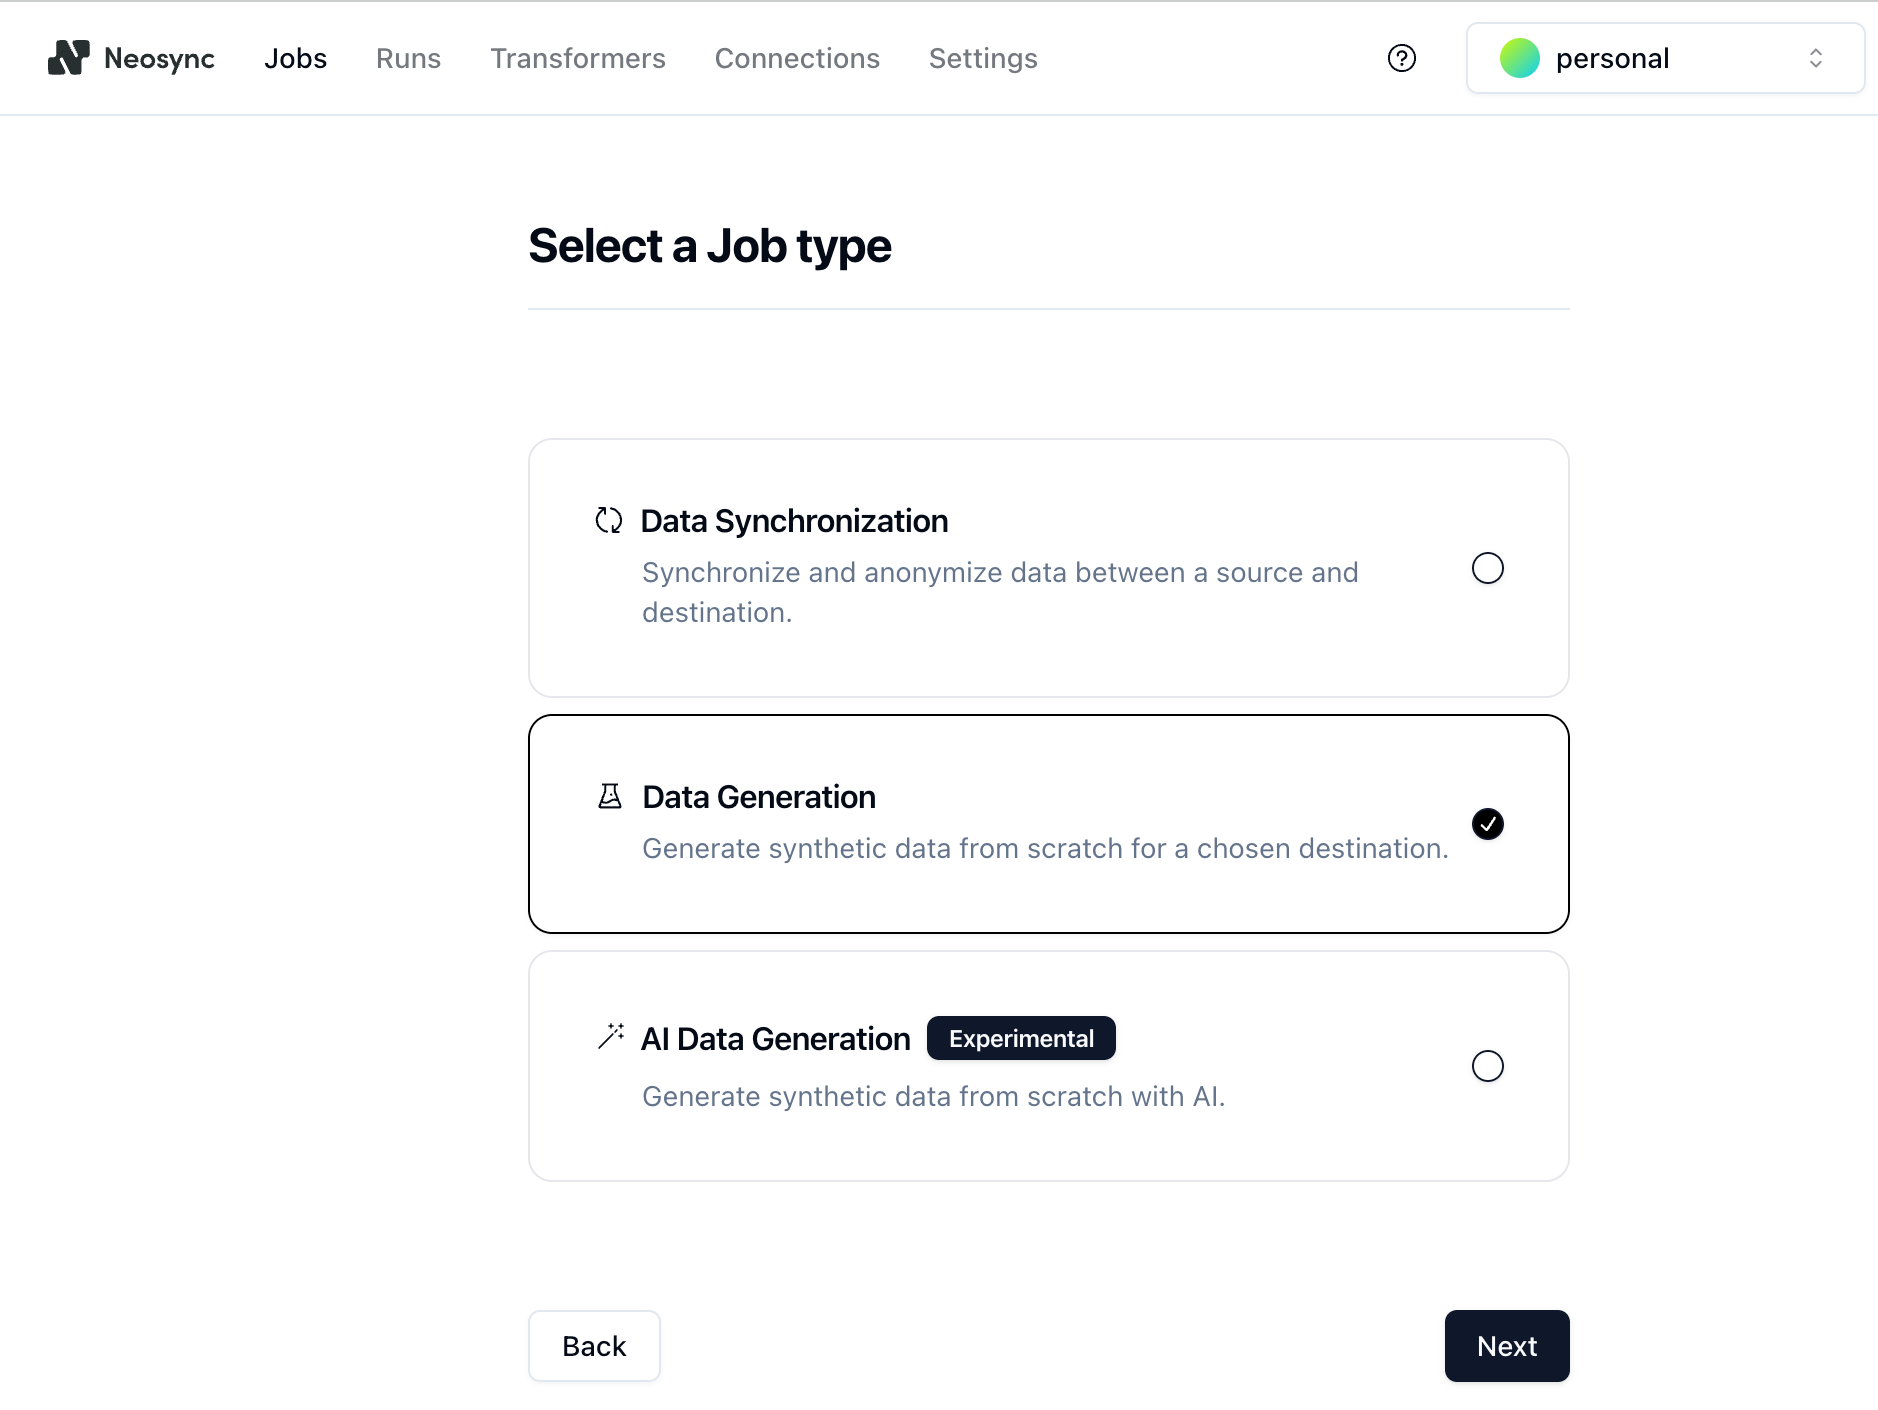
1. Click on **Jobs** and then click on **New Job**. You are presented with a few job types. Since you are seeding a table from scratch, select the **Data Generation** option and click **Next**.
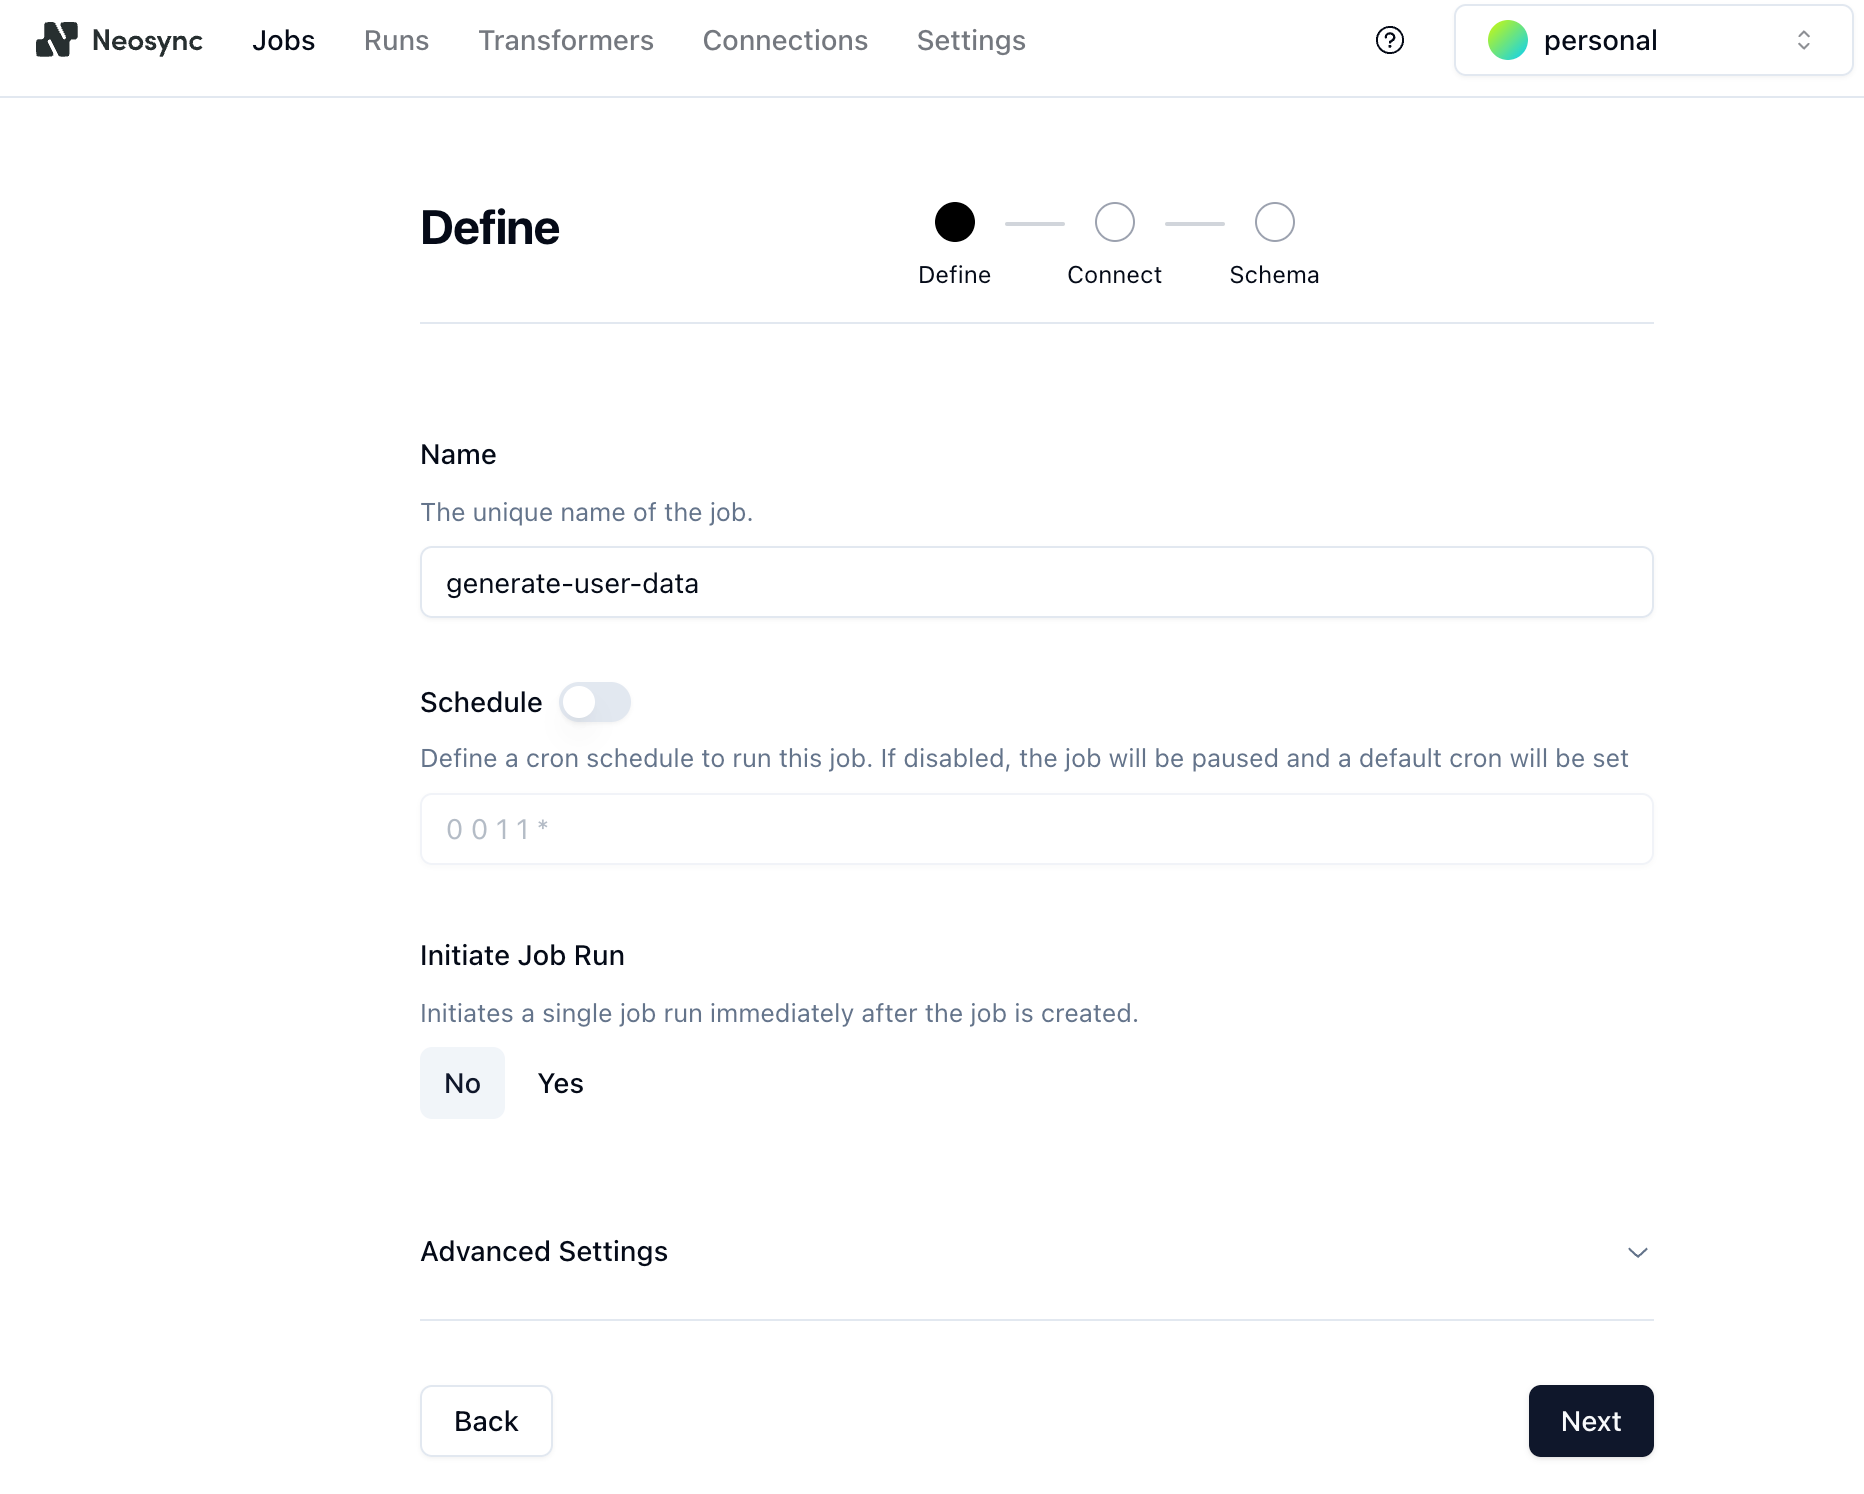
2. Give the job a name and set **Initiate Job Run** to **Yes**. We'll call it `generate-user-data`. You can leave the schedule and advanced options alone. Click **Next** to move onto the **Connect** page.
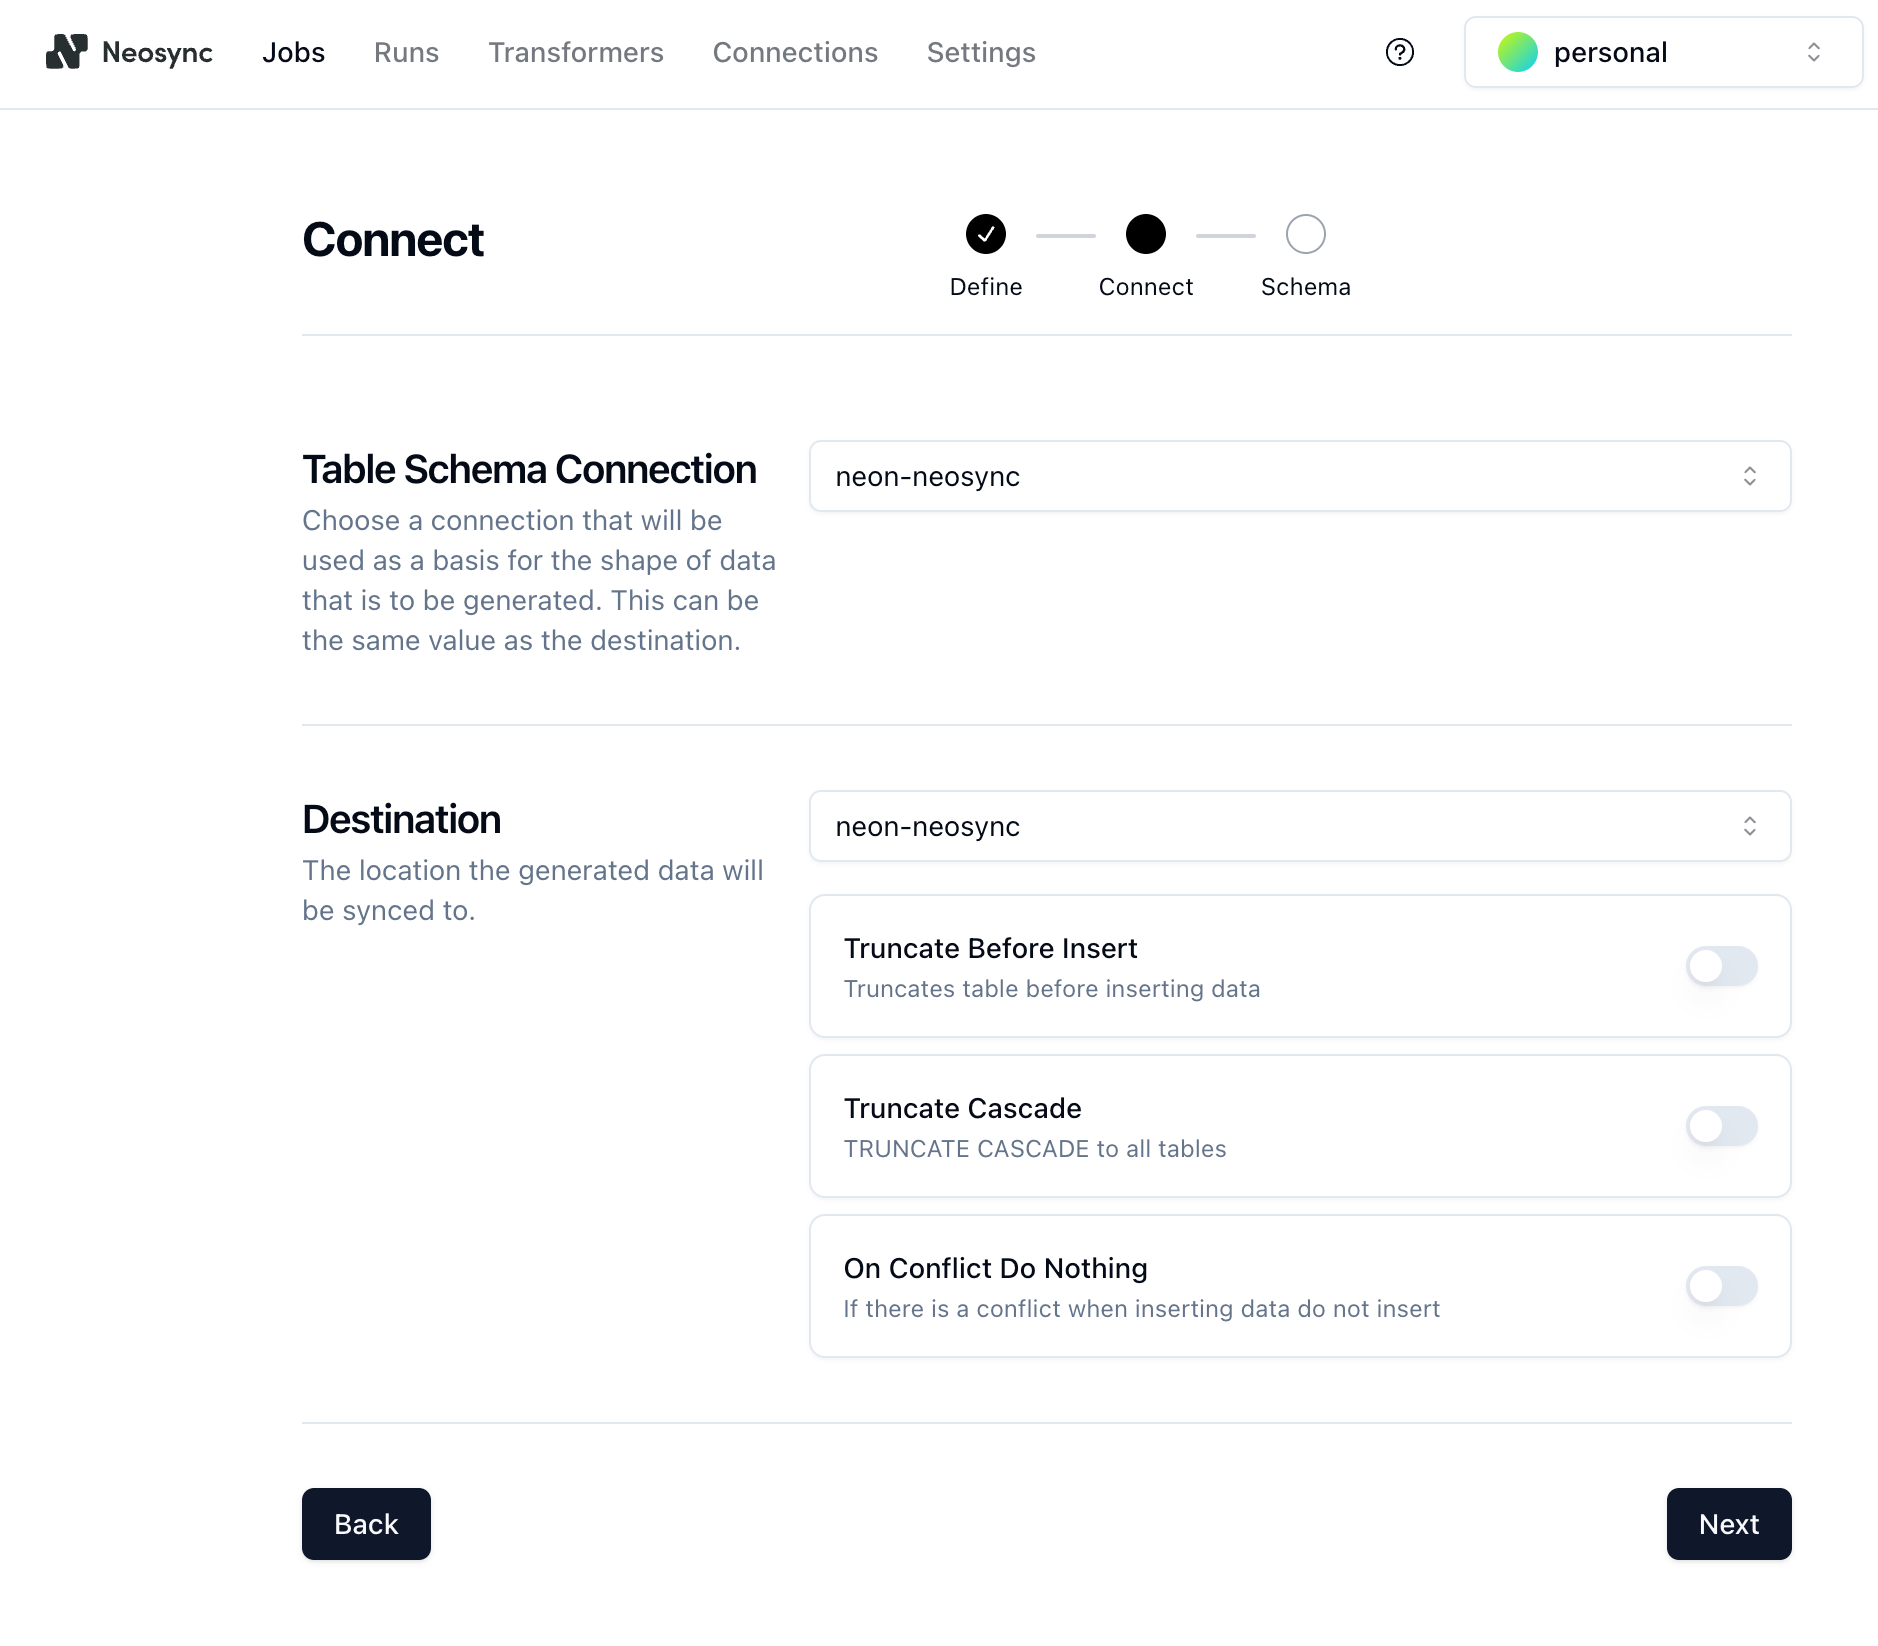
3. On the **Connect** page, select the connection you configured previously (`neon-neosync`) from the dropdown and click **Next**.
There are a few different options on the **Connect** page, such as **Truncate Before Insert**, **Truncate Cascade**, etc., but we don't need these right now, so you can ignore them.
4. On the **Schema** page:
- Specify a value for **Number of Rows**. We'll create 1000 rows of data to use in this example.
- Under **Table Selection**, select the schema and table (`public.users`) where you want to generate synthetic data and move it from the source to the destination table.
- For each column in your table, select a **Transfomer** to define the type of data you want to generate for the column. For the `age` column, we used the `Generate Random Int64` to randomly generate ages between 18 and 40. You can configure the generator by clicking on the edit icon next to the transformer and setting min and max values.
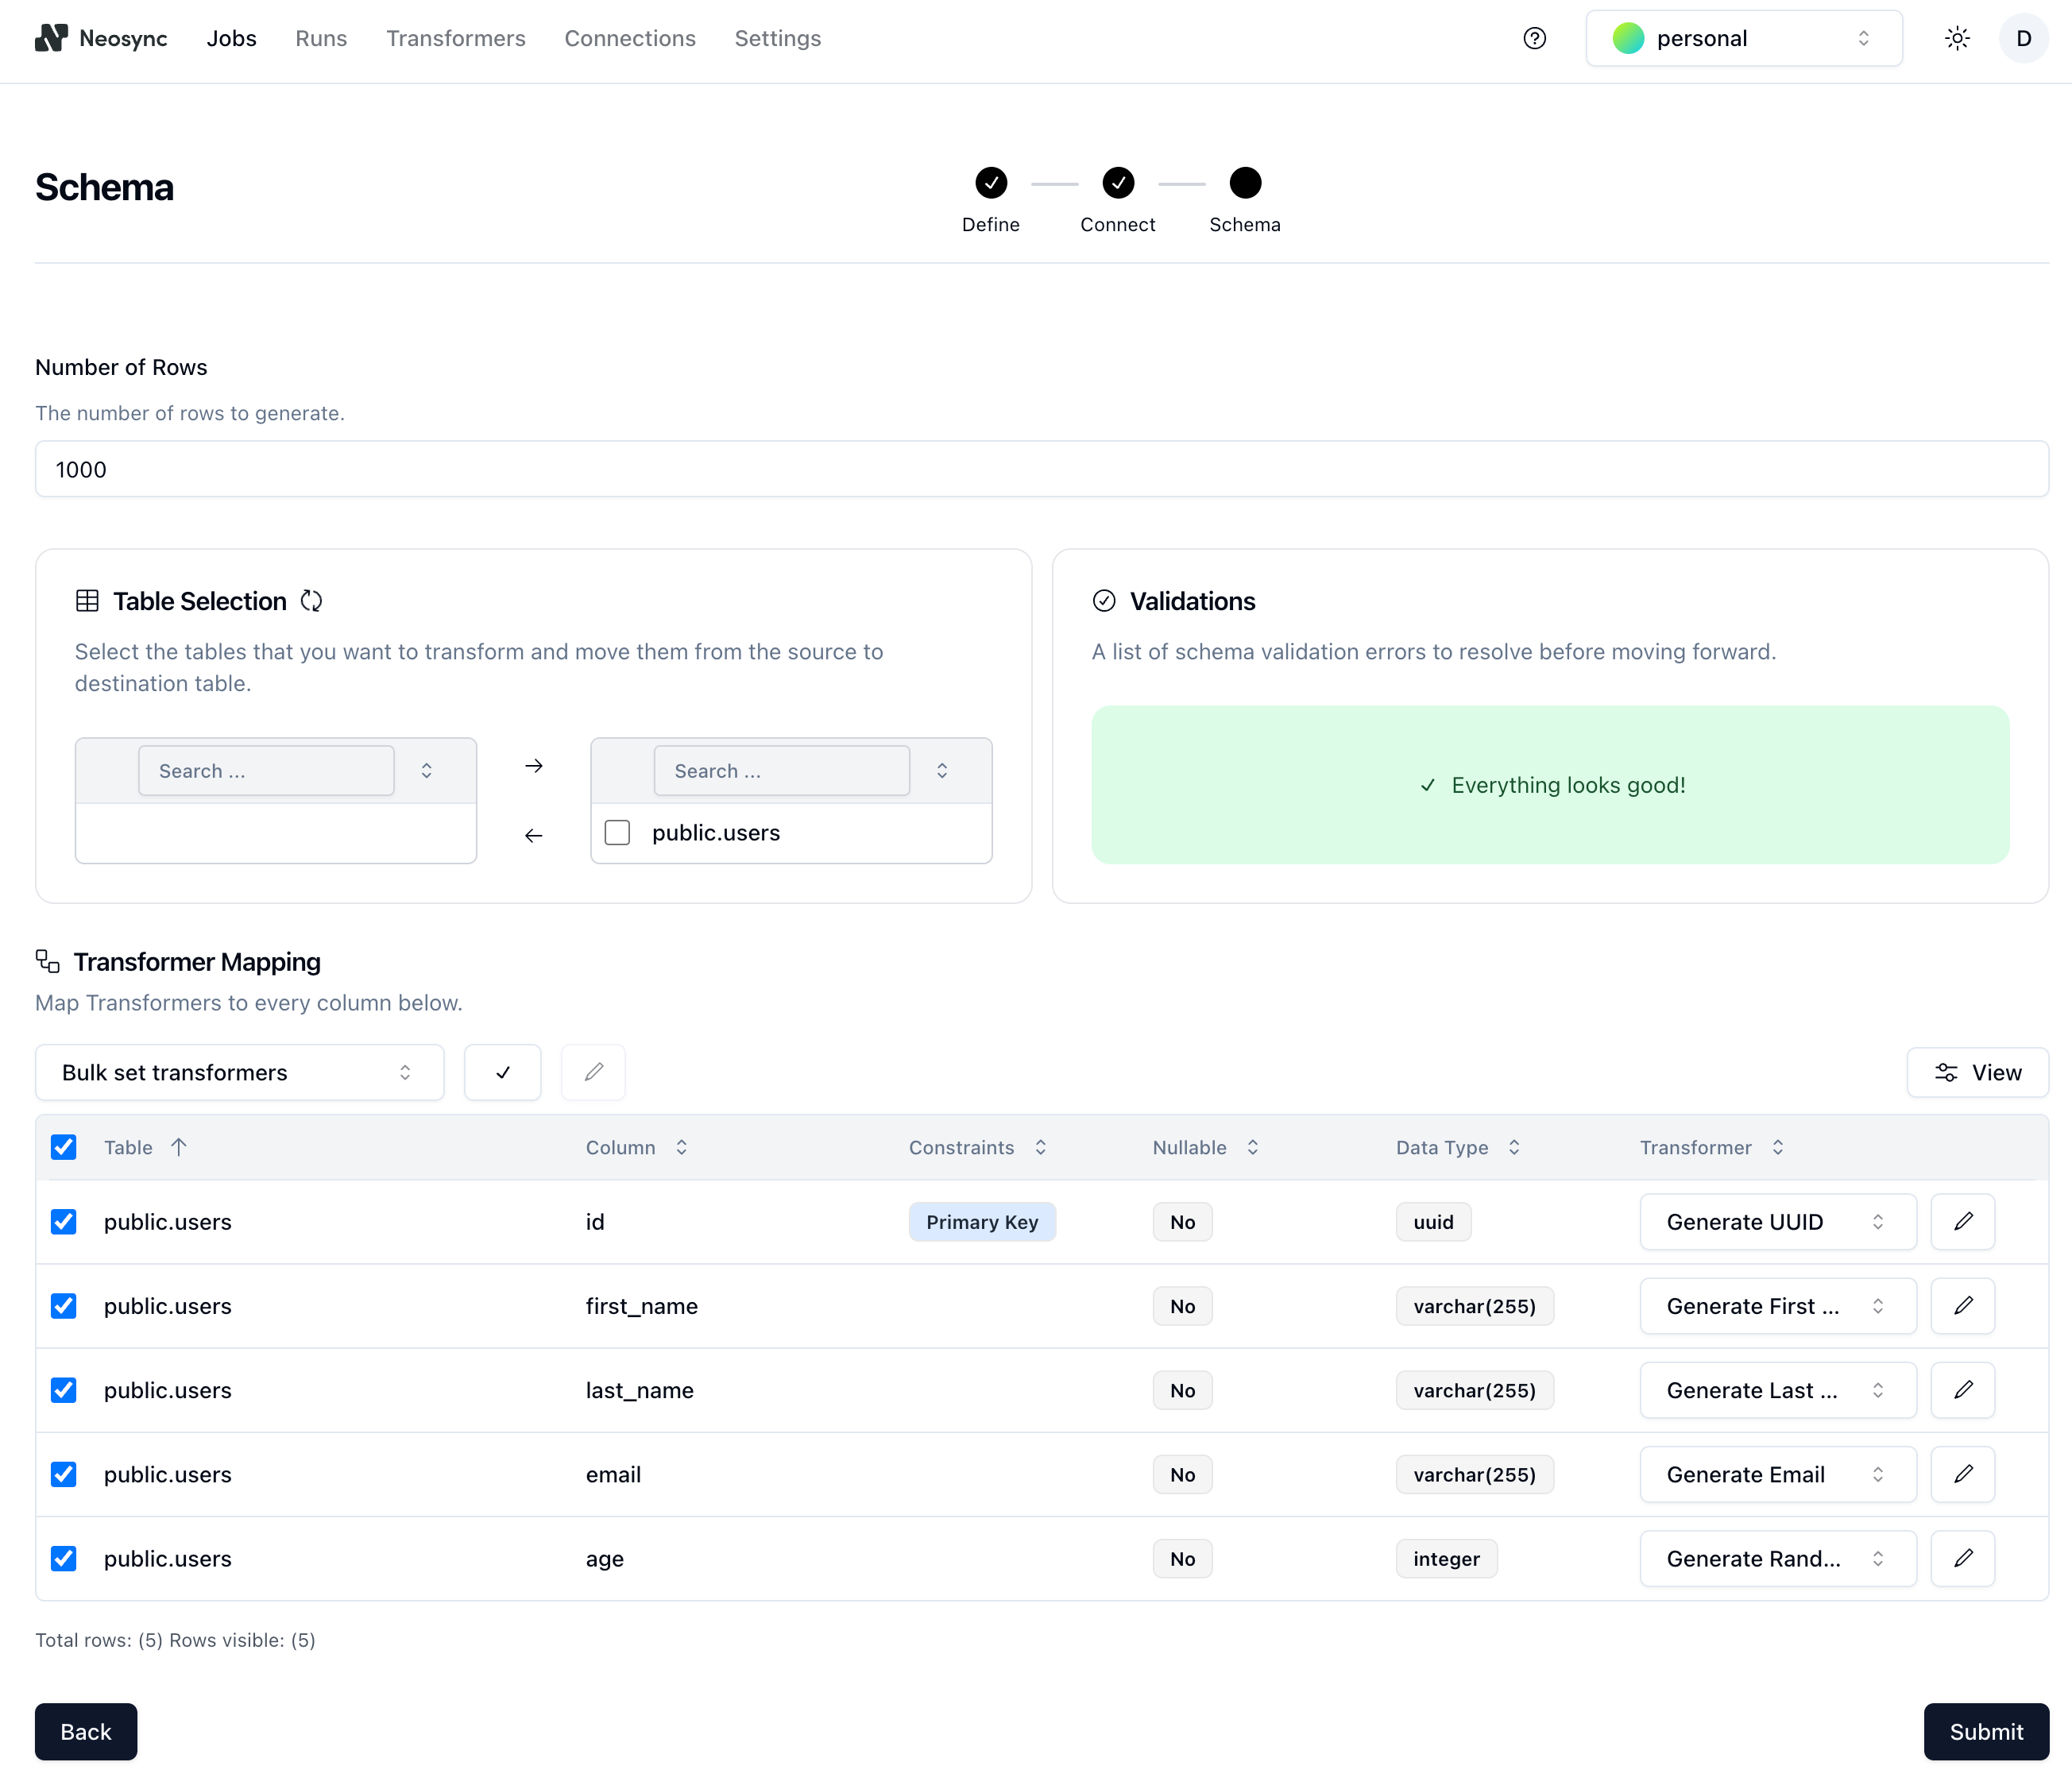
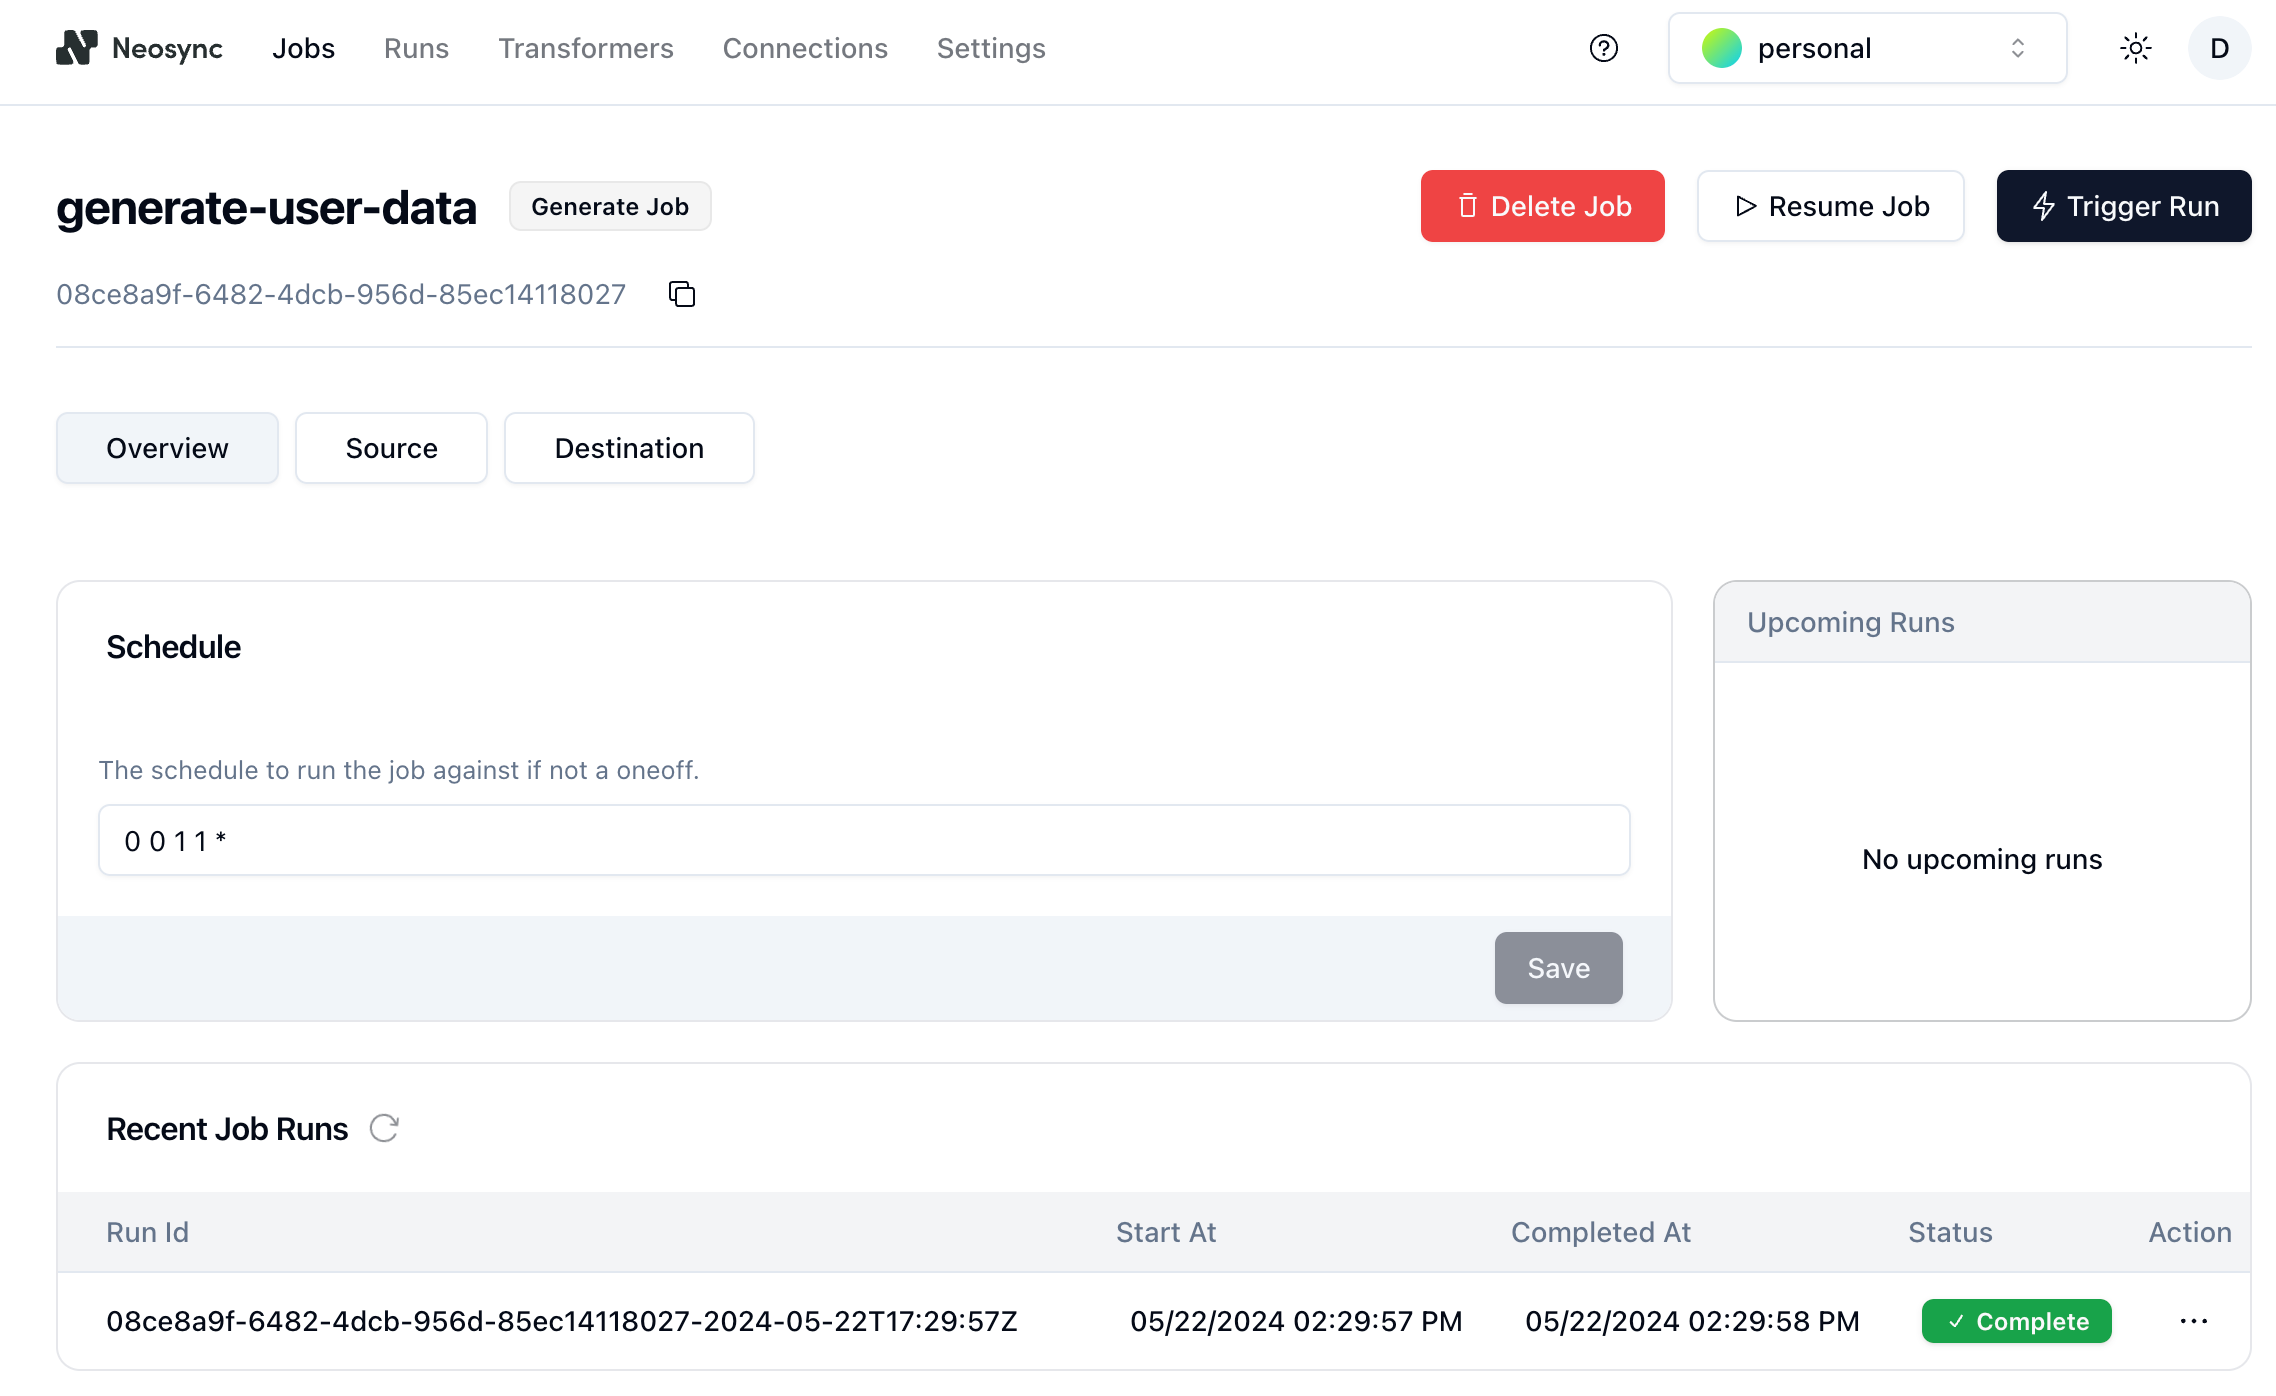
- After the transformers are configured, select the checkboxes for all of the transformers and click **Submit** to create the **Job** that we defined previously. On the **Job** page, you can see that the job ran successfully, creating 1000 rows of synthetic data to work within just a few seconds.
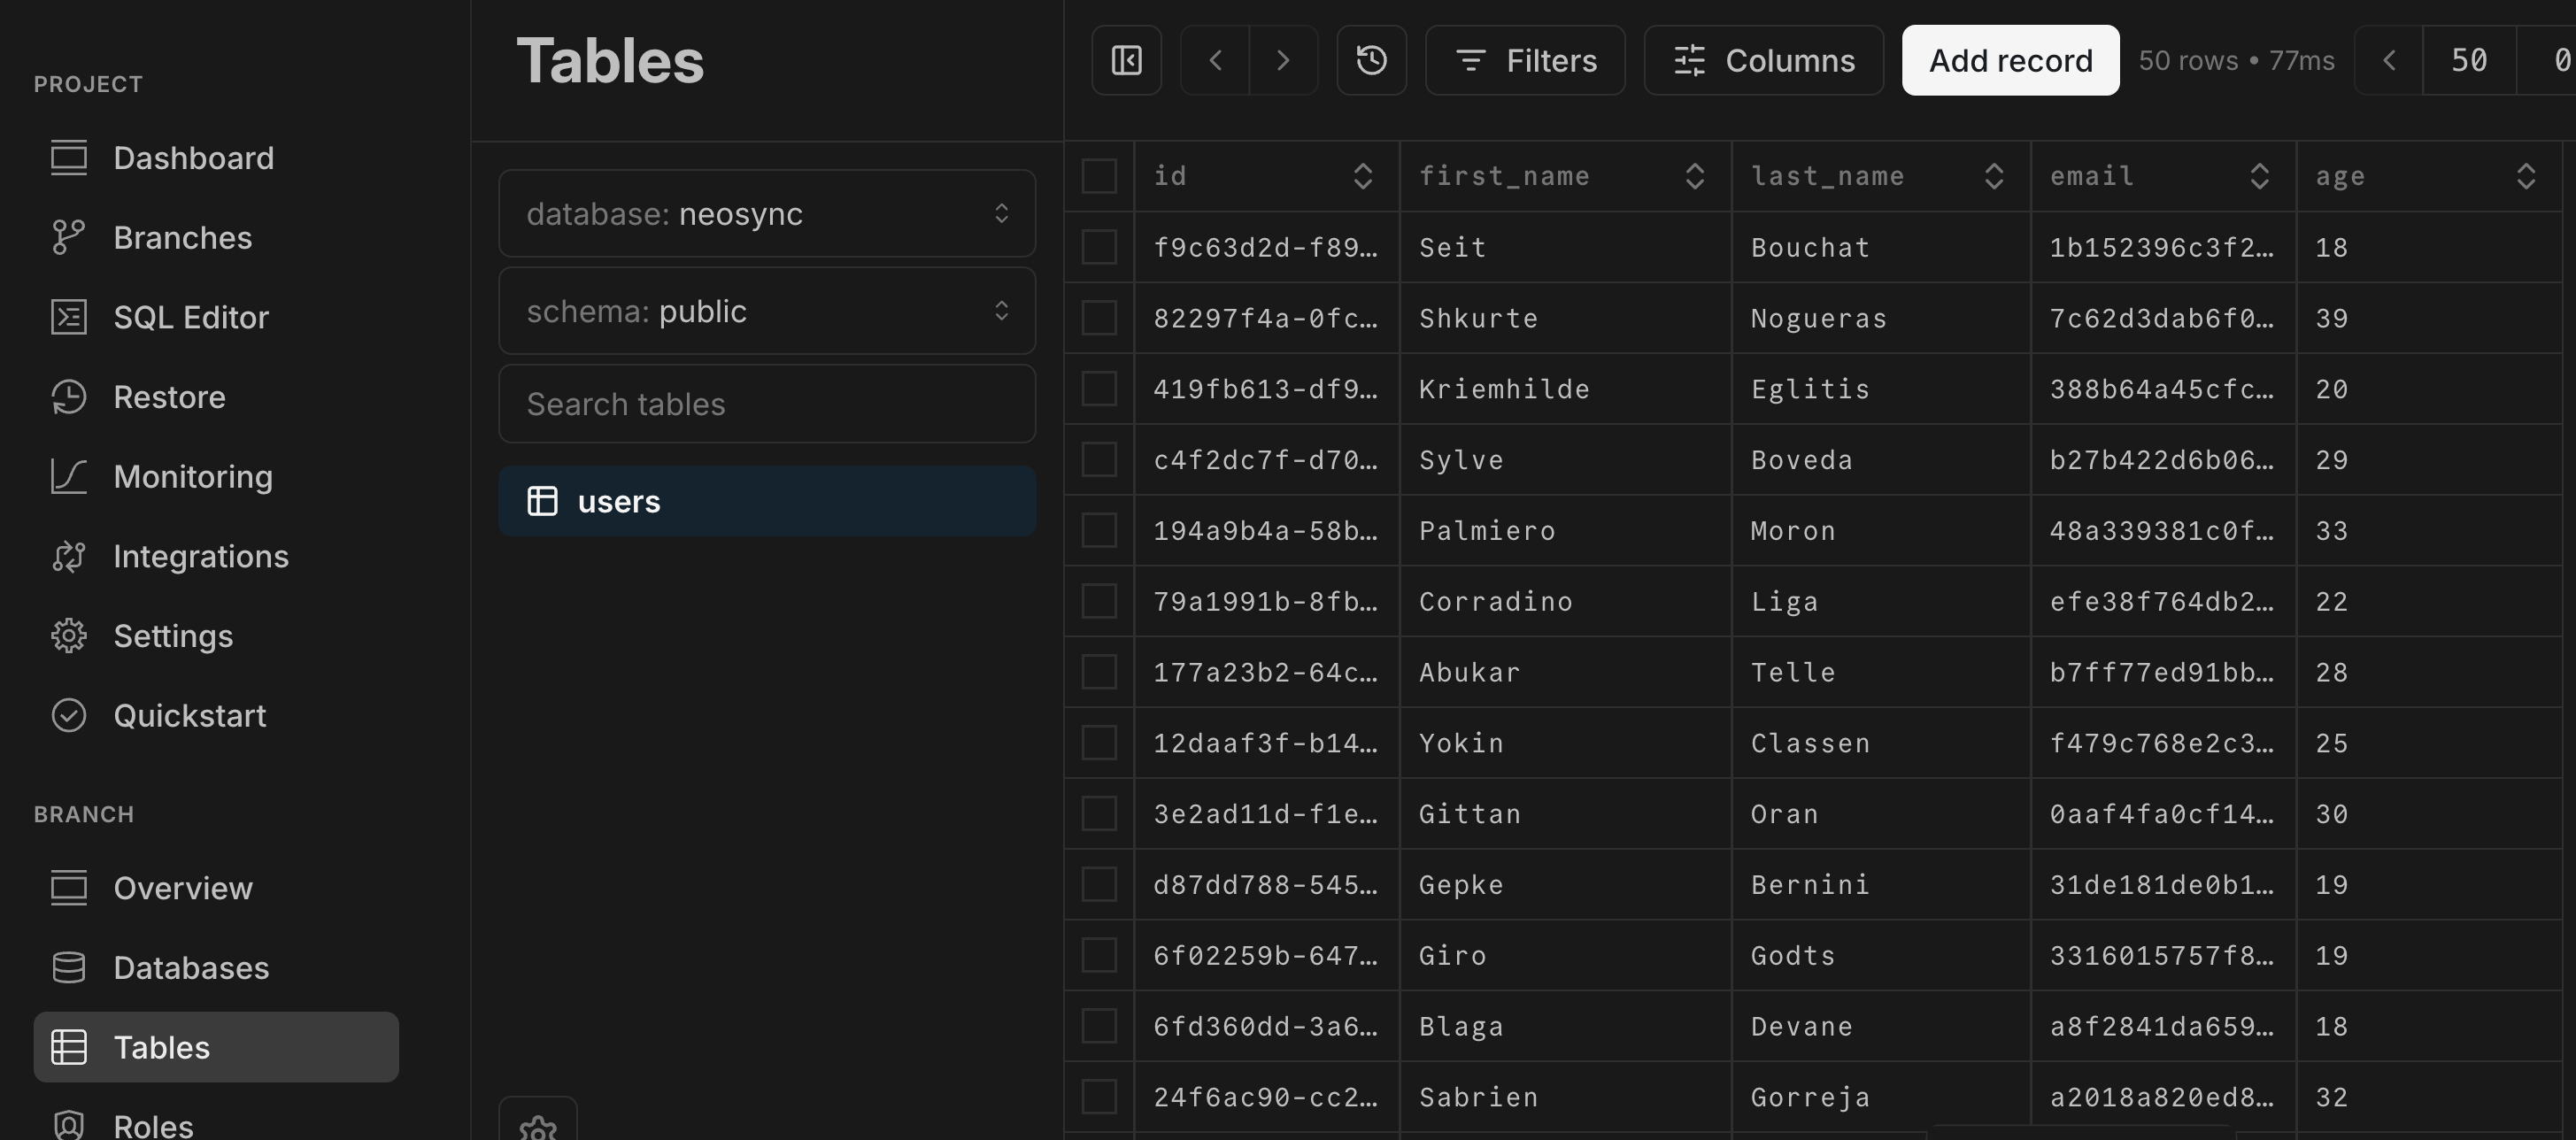
5. Verify that the data was created in Neon by navigating to the Neon Console and selecting the **Tables** from the sidebar. Your data should be visible in the `public.users` table.
## Conclusion
In this guide, we stepped through how to seed your Neon database using Neosync. This was a minimal example, but you can follow the same steps to generate tens of thousands or more rows of data. The ability to easily generate synthetic data is particularly helpful if you're working on a new application and don't have data yet or want to augment your existing database with more data for performance testing.
Neosync is also able to handle referential integrity in case you need to generate data for tables linked by referential integrity constraints.
## Resources
- [Neosync](https://www.neosync.dev/)
- [Neosync Quickstart](https://docs.neosync.dev/quickstart)
- [Synthetic data generation](https://docs.neosync.dev/core-features#synthetic-data-generation)
- [How to Anonymize Sensitive Data in Neon](https://www.neosync.dev/blog/neosync-neon-sync-job)
- [How to use Synthetic Data to catch more bugs with Neosync](/blog/how-to-use-synthetic-data-to-catch-more-bugs-with-neosync)
- [How to seed your Neon DB with Synthetic Data](https://www.neosync.dev/blog/neosync-neon-data-gen-job)