




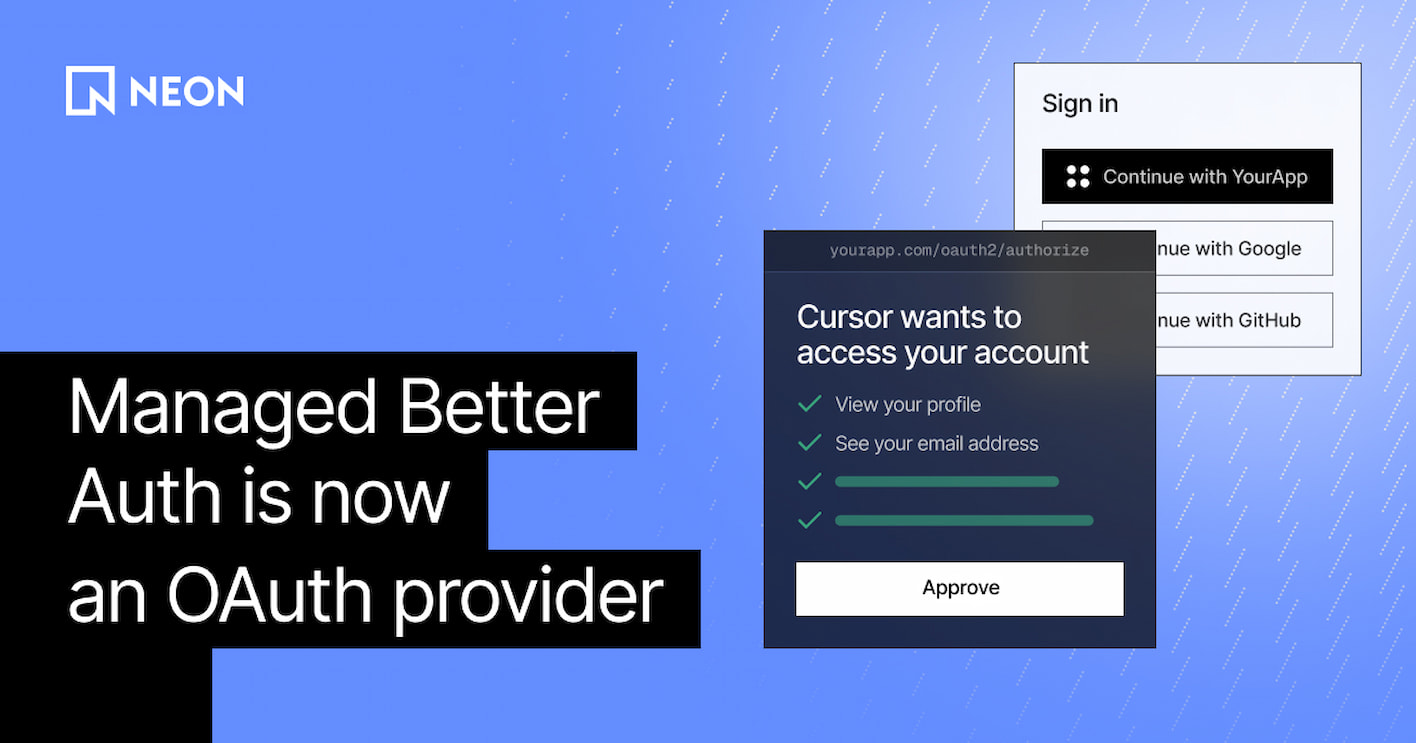
Managed Better Auth now supports the OAuth Provider plugin, one of our most requested features. It turns your auth instance into an OAuth 2.1 authorization server, so other apps and MCP clients can sign users in with your app.
In Better Auth, OAuth provider and MCP are two separate plugins. In Managed Better Auth they're one. You enable the OAuth provider, add your MCP server URL in the same panel, and a single auth instance handles both:
- Sign in with your app. A companion web app, SPA, desktop app or CLI sends the user to your Auth URL, the user approves access, and the app gets an access token for your API.
- MCP servers. An MCP client connects to your server, finds your authorization server from the server's metadata, signs the user in, and gets a token that only works for that MCP server.
Managed Better Auth already lets your users sign in to your app with Google, GitHub, or Vercel. This adds the other direction.
Turn it on
In the Console, go to Settings › Better Auth › OAuth provider. Add your login and consent page URLs, your MCP server URL, and any other APIs you want to protect. Or simply ask your agent:
> Enable the OAuth provider on my Neon Auth with my MCP server at
https://mcp.example.com/mcp, and add login and consent pages to my app.
What Neon runs, and what you run
Like JWT and Organization, OAuth Provider is a managed plugin.
- Neon runs: the authorization server, the discovery endpoints (
/.well-known/oauth-authorization-server,/.well-known/openid-configuration), the JWKS, token issuance and refresh, and client onboarding (managed clients, Client ID Metadata Documents, and optional dynamic registration). - You run: a login page and a consent page in your own app, so you control what users see when they approve a client. You also run the API or MCP server that accepts the tokens, and the new @neon/oauth SDK handles the token side of that.
What you can build with it
The same auth instance covers two use cases: protecting an MCP server, and letting your other apps sign users in with your app.
Protect an MCP server
Your MCP server has two jobs: publish its protected resource metadata, and verify access tokens. @neon/oauth does both:
import express from 'express';
import { createMcpAuth } from '@neon/oauth/mcp';
import { expressMcp } from '@neon/oauth/mcp/express';

const auth = createMcpAuth({
  baseUrl: process.env.NEON_AUTH_BASE_URL!, // the Auth URL of your branch
  resource: 'https://mcp.example.com/mcp', // the MCP server URL configured on the provider
});

const app = express();
app.use(expressMcp(auth)); // serves metadata, 401s without a valid token, sets req.auth
// ...mount your MCP transport on /mcp
createMcpAuth() checks each token's signature, issuer and audience. Adapters are also available for Hono, Next.js and node:http.
Clients onboard themselves. MCP clients that support Client ID Metadata Documents work with no setup, because CIMD is on by default once you set an MCP server. For older clients that only support dynamic client registration, switch on Allow MCP clients to dynamically register themselves.
You can build the whole thing on the Neon backend:
- Neon Functions hosts the server and gives it a public URL.
- Managed Better Auth is the authorization server.
- Your Lakebase Postgres database holds the data the tools return, plus the users allowed to see it.
> Deploy an MCP server as a Neon Function that lets me query my orders table.
Protect it with the OAuth provider on Managed Better Auth so each user only
sees their own orders, then show me how to connect it from my MCP client.
More coming
We'll publish a full guide to building an MCP server on Neon soon.
Sign users in to your other apps
For your own companion apps, internal tools or partner integrations, create an OAuth client in the Console. It can be confidential (with a secret) or public (PKCE only), and because you trust it, it can skip the consent screen. createOAuth() handles discovery, PKCE sign-in with encrypted session cookies, refresh, and bearer-token checks for your API:
import { Hono } from 'hono';
import { createOAuth } from '@neon/oauth';
import { honoBearerAuth, honoOAuthClient, type AuthVariables } from '@neon/oauth/hono';

const oauth = createOAuth({
  baseUrl: process.env.NEON_AUTH_BASE_URL!,
  resource: 'https://api.example.com',
  clientId: process.env.NEON_AUTH_CLIENT_ID!,
  redirectUri: 'https://app.example.com/api/auth/callback',
  cookies: { secret: process.env.NEON_AUTH_COOKIE_SECRET! },
});

const app = new Hono<AuthVariables>();
app.use(honoOAuthClient(oauth.client)); // /api/auth/login, /callback, /logout
app.get('/api/things', honoBearerAuth(oauth), (c) => c.json({ user: c.get('auth').sub }));
The token your API receives was issued by your auth instance, so the user's identity, roles and data all come from the same database.
New to Managed Better Auth?
Managed Better Auth is Better Auth, run by Neon, inside the same backend as your database, Functions, Object Storage and AI Gateway. You can enable it in one click, with CLI neon neon-auth enable, or by asking your agent. Users, sessions and organizations live in your database in the neon_auth schema, so a permission check is a JOIN, and auth state branches with your data.
Included in the Free plan
Managed Better Auth is included on every Neon plan, with the Free plan covering you up to 60,000 monthly active users.
Try it on a branch first
OAuth is the kind of thing you want to get right before real users hit it: redirect URIs, consent screens, scopes, token checks. You don't have to test any of that in production. OAuth provider configuration is per branch, and because auth lives in your database, a new branch comes with a copy of your users, sessions, and auth configuration. Each branch also gets its own Auth URL, which is its own issuer.
So the loop looks like this:
- Create a preview branch from production.
- Point a test MCP server or client at the branch's Auth URL.
- Run real sign-in flows against copies of real accounts, and change login pages, consent pages, or clients as much as you like.
- When it works, apply the same configuration to production.
The branches stay isolated. All branches in a project share signing keys, so a preview branch's tokens have a valid signature everywhere, but the issuer is different. Verifiers like @neon/oauth pin the issuer, so a preview branch's tokens are rejected by your production servers.
Get started
The OAuth Provider plugin is available now. Read the OAuth Provider guide, install the SDK with npm install @neon/oauth, or hand the whole setup to your agent:
> Set up a Neon backend with Postgres, Managed Better Auth, and Functions.
Enable the OAuth provider with an MCP server, and deploy a small MCP server
my users can sign in to.
Your agent works best if it already knows Neon. If you haven't set that up yet, run this in your project folder:
npx neon@latest initIt installs the Neon agent skills and the Neon MCP server. If you set it up a while ago, run it again to get the latest skills.