---
title: Connect Vercel and Neon manually
subtitle: Learn how to connect a Vercel project to a Neon database manually
summary: >-
How to connect a Vercel project to a Neon database manually, covering
prerequisites, connection steps using environment variables, and scenarios for
choosing manual connections over integrations.
enableTableOfContents: true
updatedOn: '2026-02-06T22:07:33.064Z'
---
When to use manual connections over integrations
How to connect using environment variables
Advanced CI/CD automation options
Vercel-Managed Integration
Neon-Managed Integration
Automate branching with GitHub Actions
---
## When to choose this path
Choose manual connection if you prefer not to install a Marketplace integration. This approach is ideal when you:
- Deploy via a custom pipeline (self-hosted CI, monorepo, etc.)
- Need non-Vercel hosting (e.g. Cloudflare Workers + Vercel Functions hybrid)
- Want full control over branch naming, seeding, migration, or teardown
If you simply want Neon and Vercel with minimal setup, stick to the managed integrations. They're simpler and include UI support.
---
## Prerequisites
- Neon project with database (get a connection string via **Connect** in the Console)
- Deployed Vercel project
---
## Connection steps
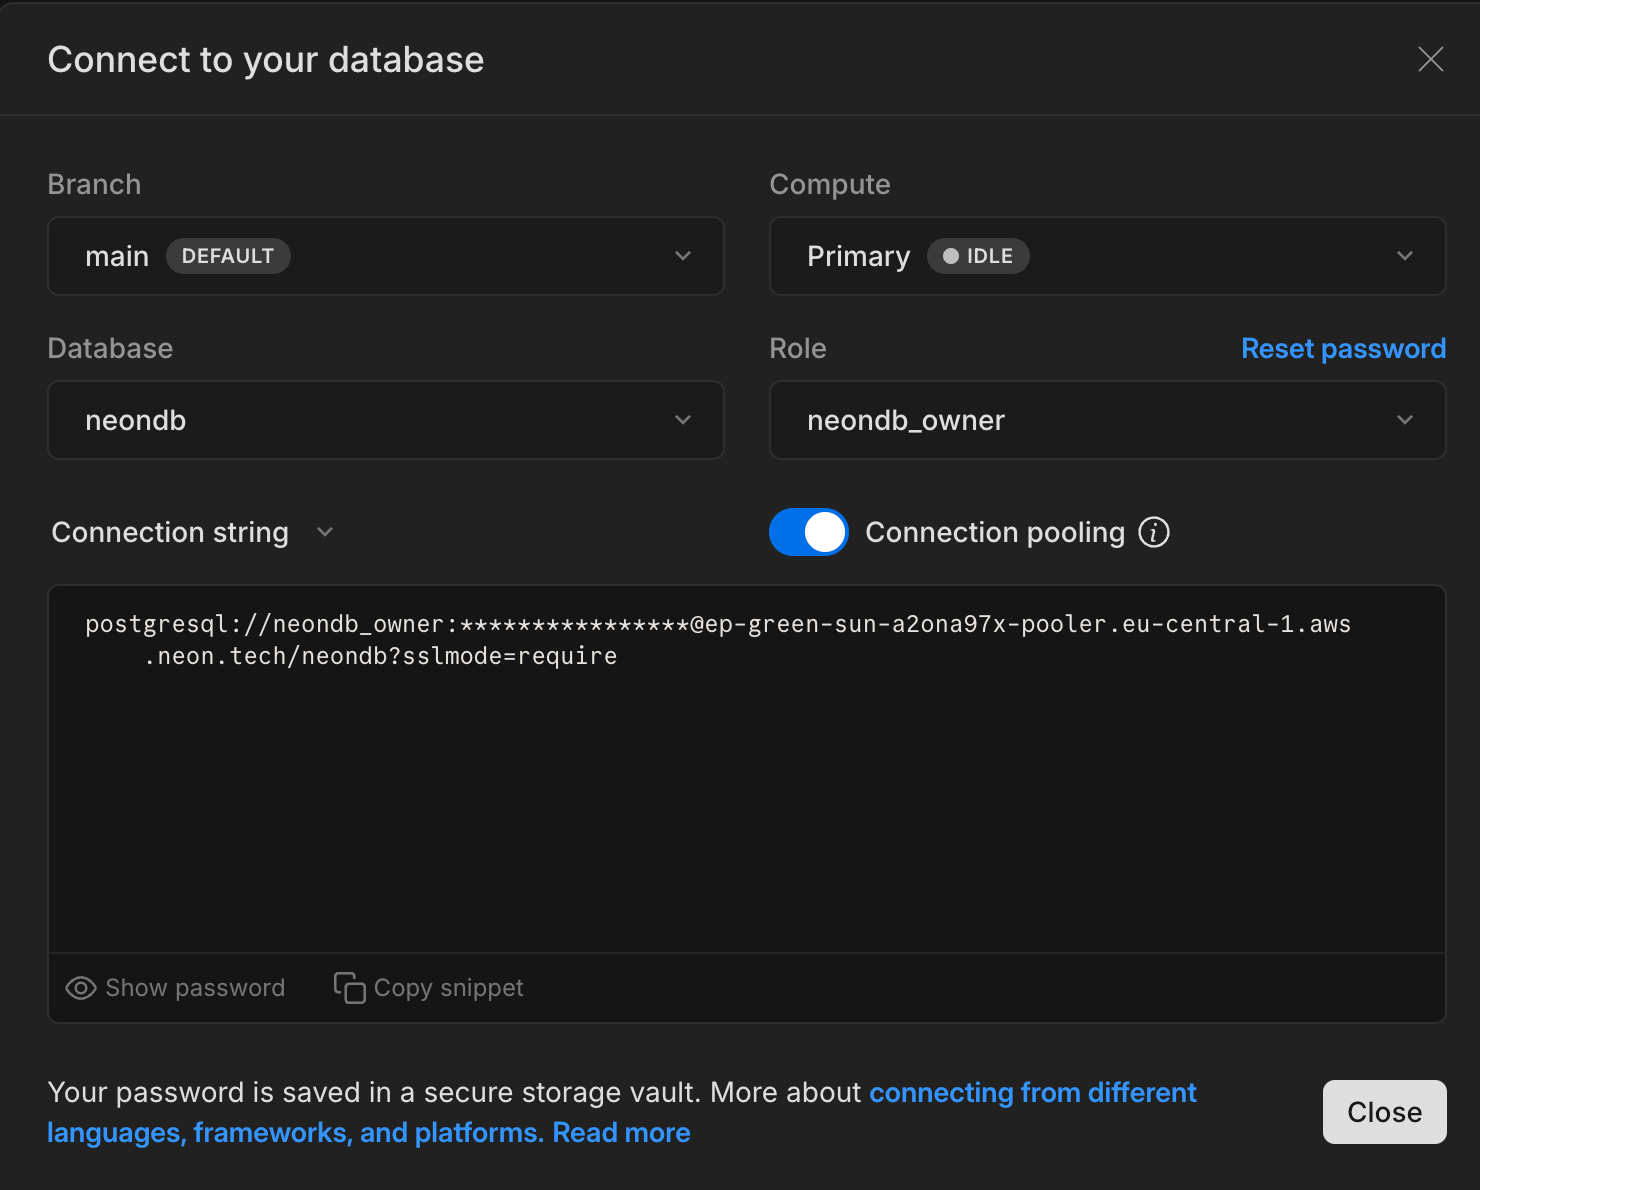
1. Copy the connection string from the [Neon Console](https://console.neon.tech). Click **Connect** on your Project Dashboard, select the branch, role, and database you want, then copy the _Connection string_.

For example:
```text
postgresql://alex:AbC123dEf@ep-cool-darkness-123456.us-east-2.aws.neon.tech/dbname?sslmode=require&channel_binding=require
^ ^ ^
|- |- |-
```
2. In the Vercel dashboard, open your project and navigate to **Settings → Environment Variables**.
3. Add either:
```text
Key: DATABASE_URL
Value:
```
_or_ the granular `PG*` variables:
```text
PGUSER=alex
PGHOST=ep-cool-darkness-123456.us-east-2.aws.neon.tech
PGDATABASE=dbname
PGPASSWORD=AbC123dEf
PGPORT=5432
```
Neon uses the default Postgres port, `5432`.
4. Select which environments need database access (Production, Preview, Development) and click **Save**.
5. Redeploy your application (or wait for your next deployment) for the variables to take effect.
That's it. Your Vercel app now connects to Neon just like any other Postgres database.
---
## CI/CD-based Preview Branching (GitHub Actions)
Looking for a full CI/CD recipe? See **[Automate branching with GitHub Actions](/docs/guides/branching-github-actions)**.